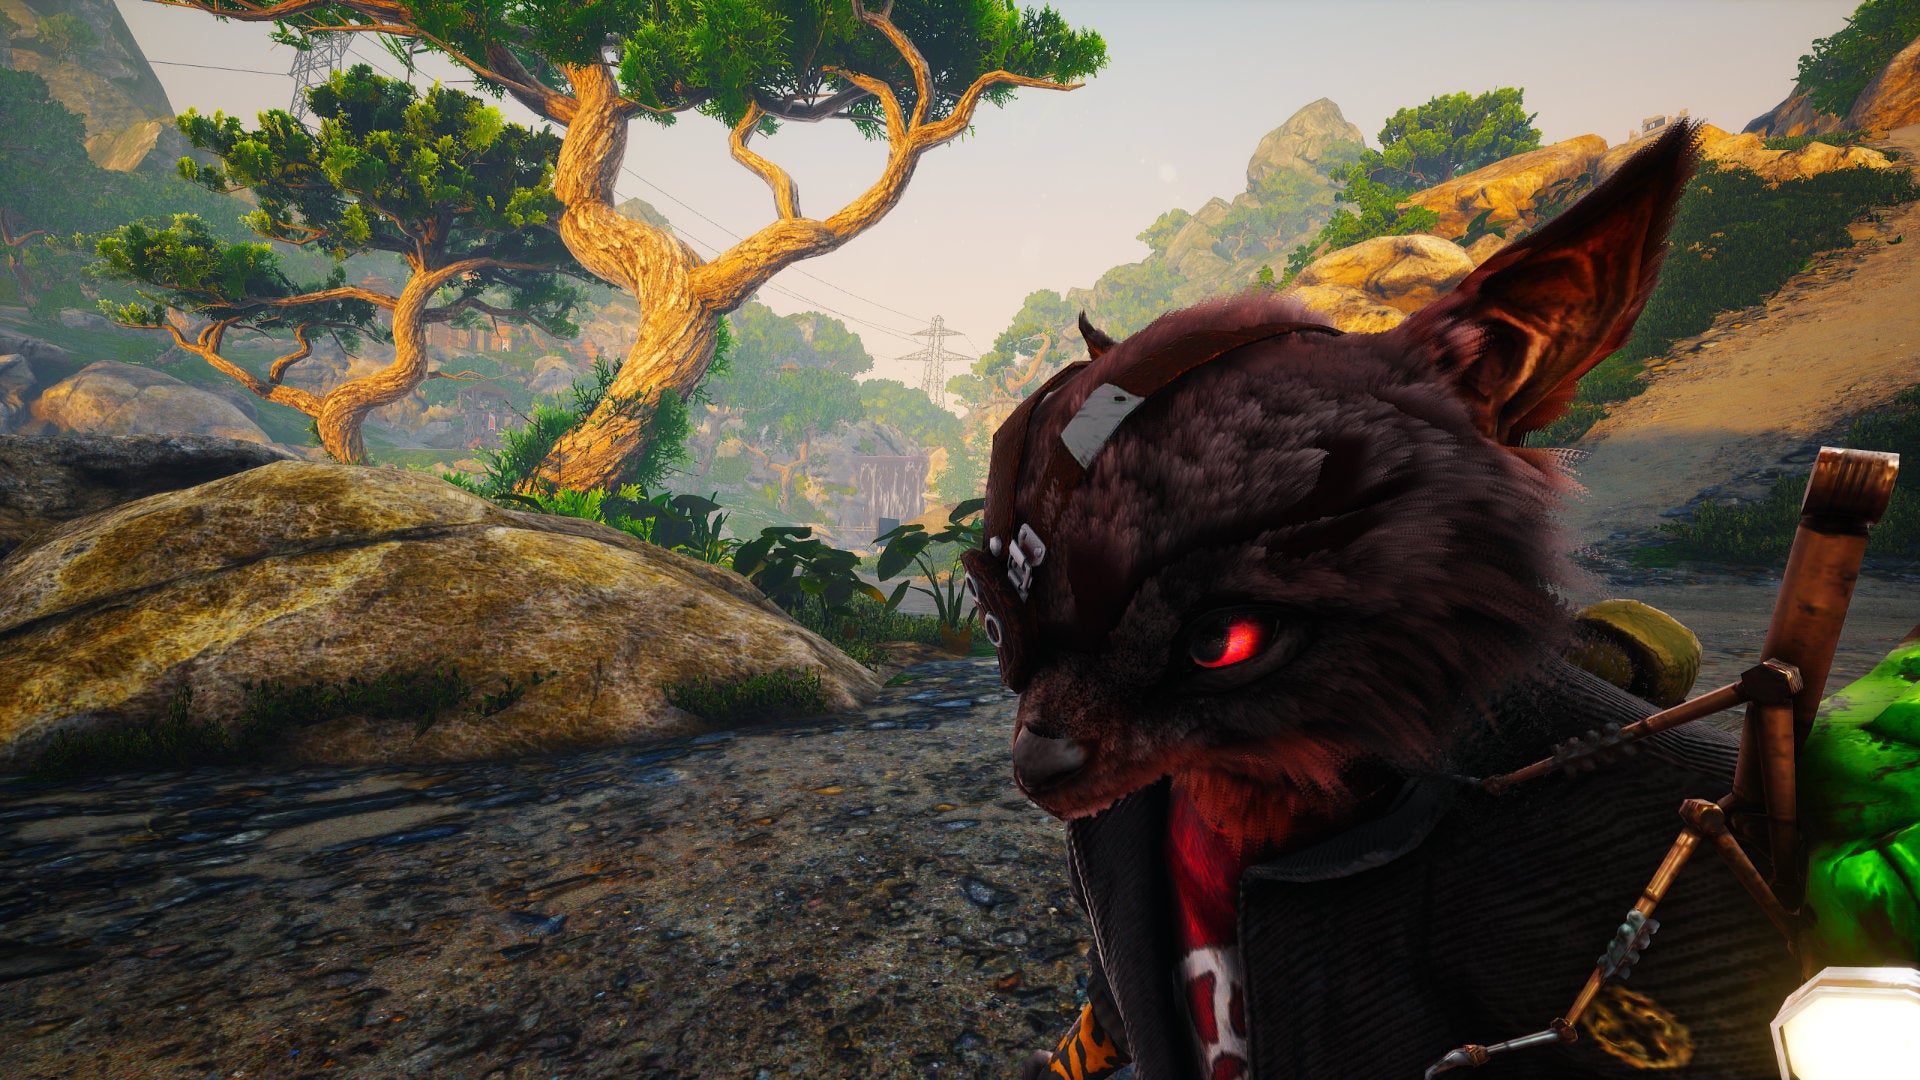
Learn how to use Photo Mode in Biomutant and everything you can do with it below. I’ll also show you where you can find your saved photos and screenshots.
How to use Photo Mode in Biomutant
There are three ways to enable Photo Mode in Biomutant: However you decide to do it, this will bring up the Photo Mode, which allows you to position the camera exactly where you want it near your character. You can only travel a certain distance away from your character’s position, but otherwise there’s a fair amount you can do. You can zoom in and out, rotate the camera, and toggle a Depth of Field effect on or off. When you’re ready, you can hit Enter (or A on Xbox Controller) to take the photo.
Biomutant tips and tricks Biomutant best class Biomutant tribes Biomutant Upgrade Bench locations How to glide How to turn off narrator How to change difficulty Biomutant New Game Plus Biomutant DLC How to fast travel
How to find your Biomutant photos on your computer
Your photos are stored in your AppData file. To view them, just open up Windows Explorer and type the following into the search bar: Then hit Enter. You’ll be brought to your Biomutant screenshots folder. I’d recommend either creating a shortcut or pinning this folder to your Quick Access so you can reach it more easily. Alternatively, you could always just do what I do: instead of taking the photo in Biomutant, just hide the UI with Tab (or Y on Xbox Controller), and then take a manual screenshot. That wraps up this quick how-to on the Biomutant Photo Mode and how to use it to capture all sorts of beautiful shots. For more on Biomutant, check out our pages on how to change appearance in Biomutant, and how to beat the Porky Puff boss fight.
