(Colonel Croesus is an open-to-all game of Combat Mission: Fortress Italy in which Allied forces are orchestrated by commenters while German units are computer controlled. Each daily turn covers one minute of WeGo action. For a scenario outline and accounts of earlier turns, click here).
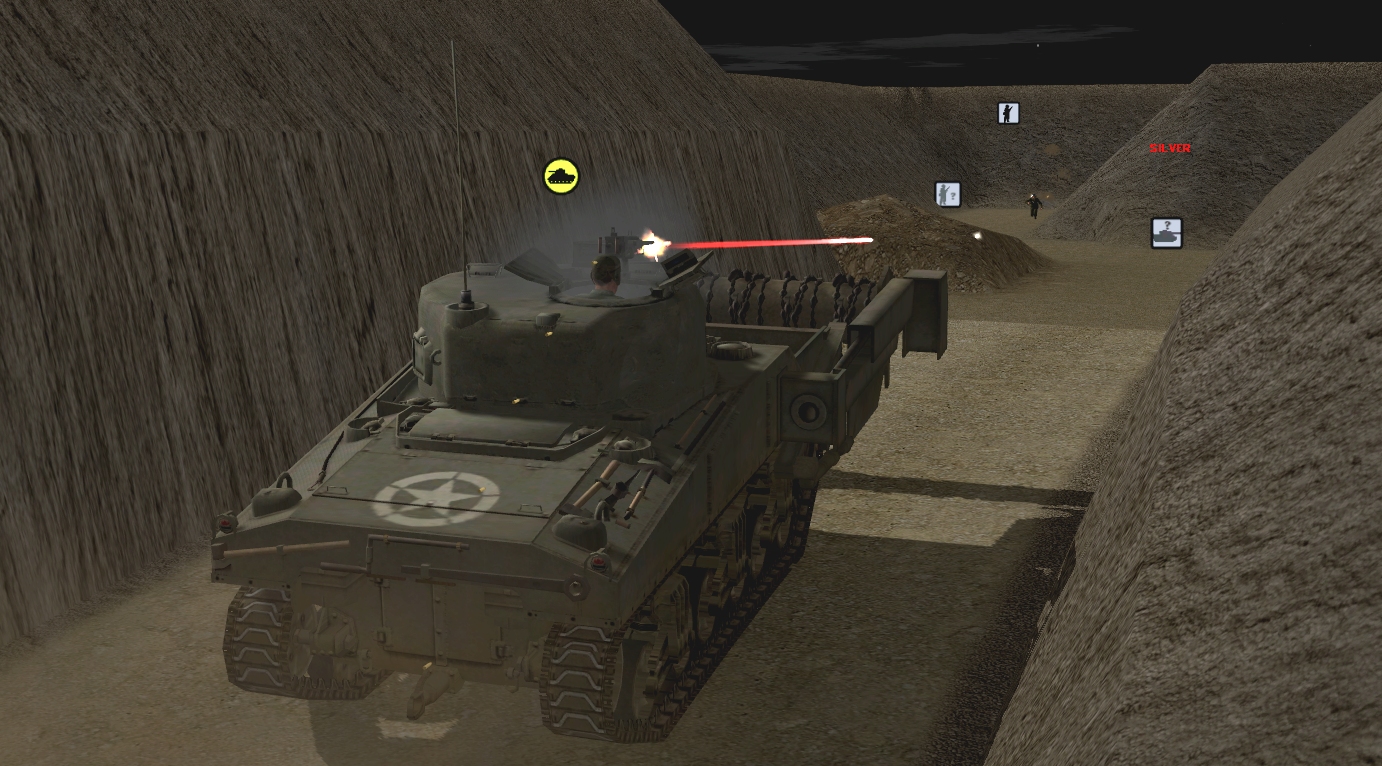
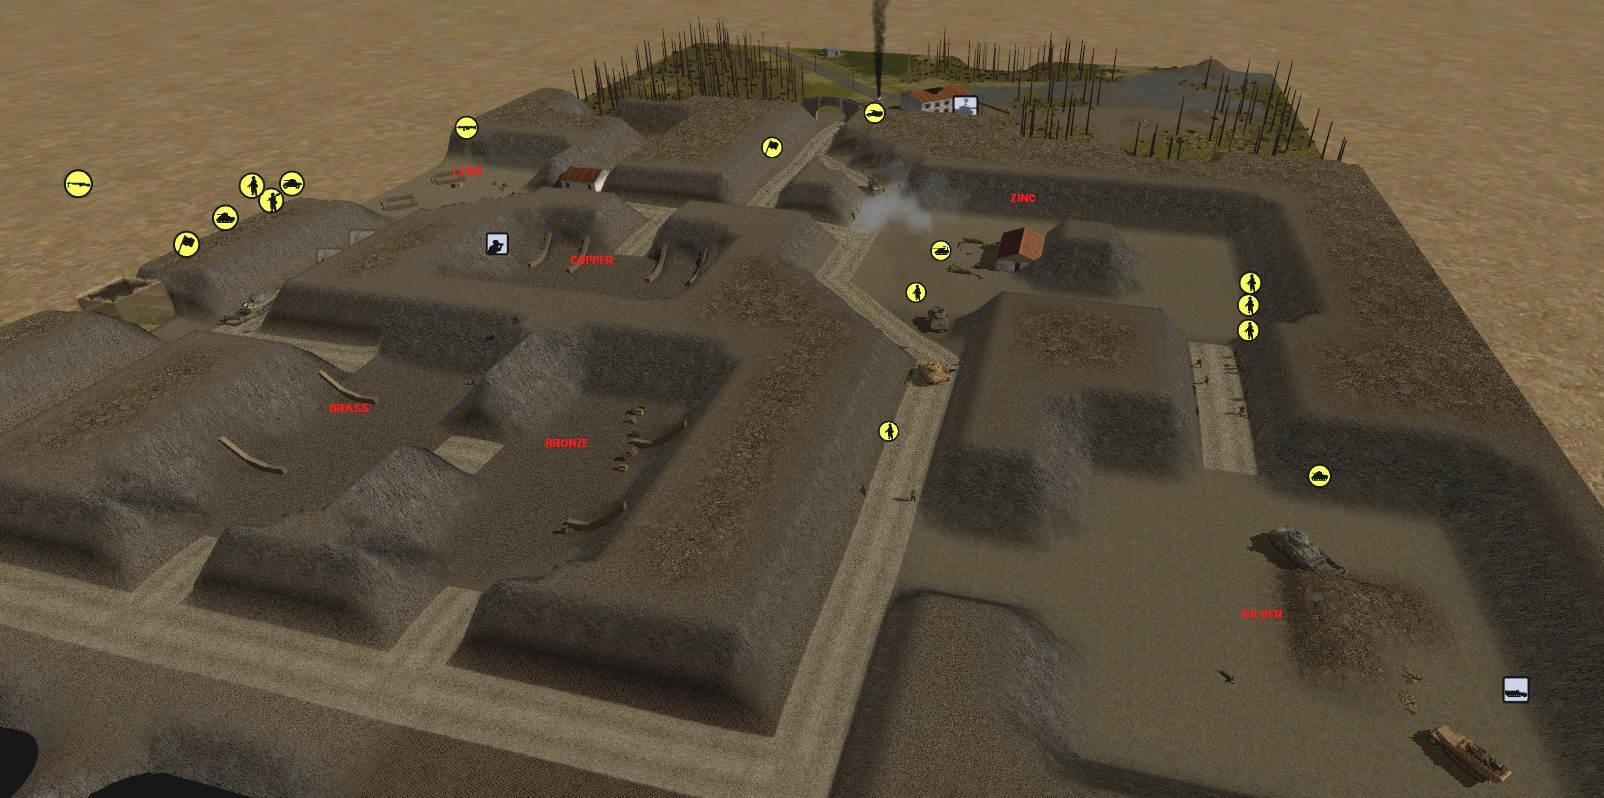
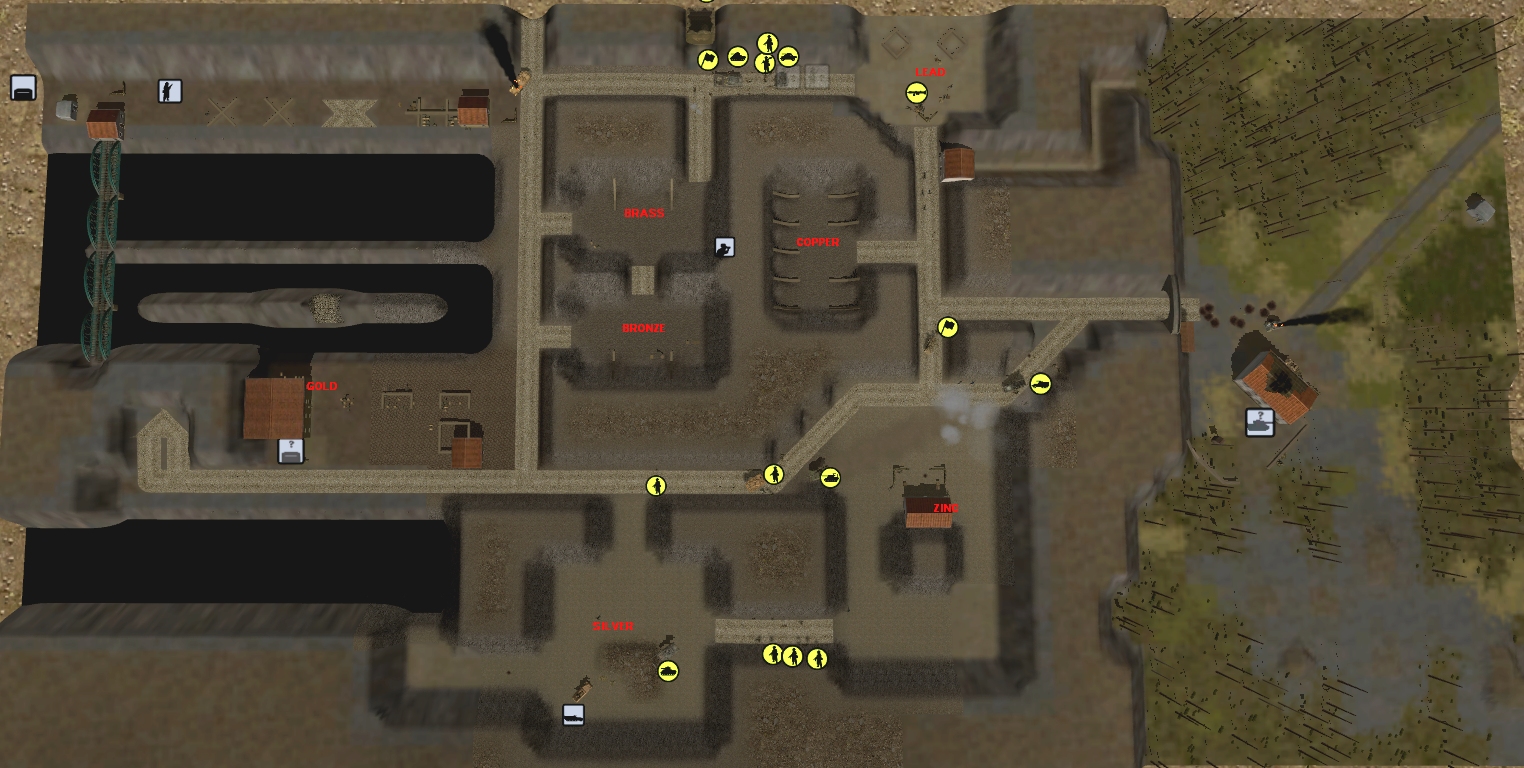
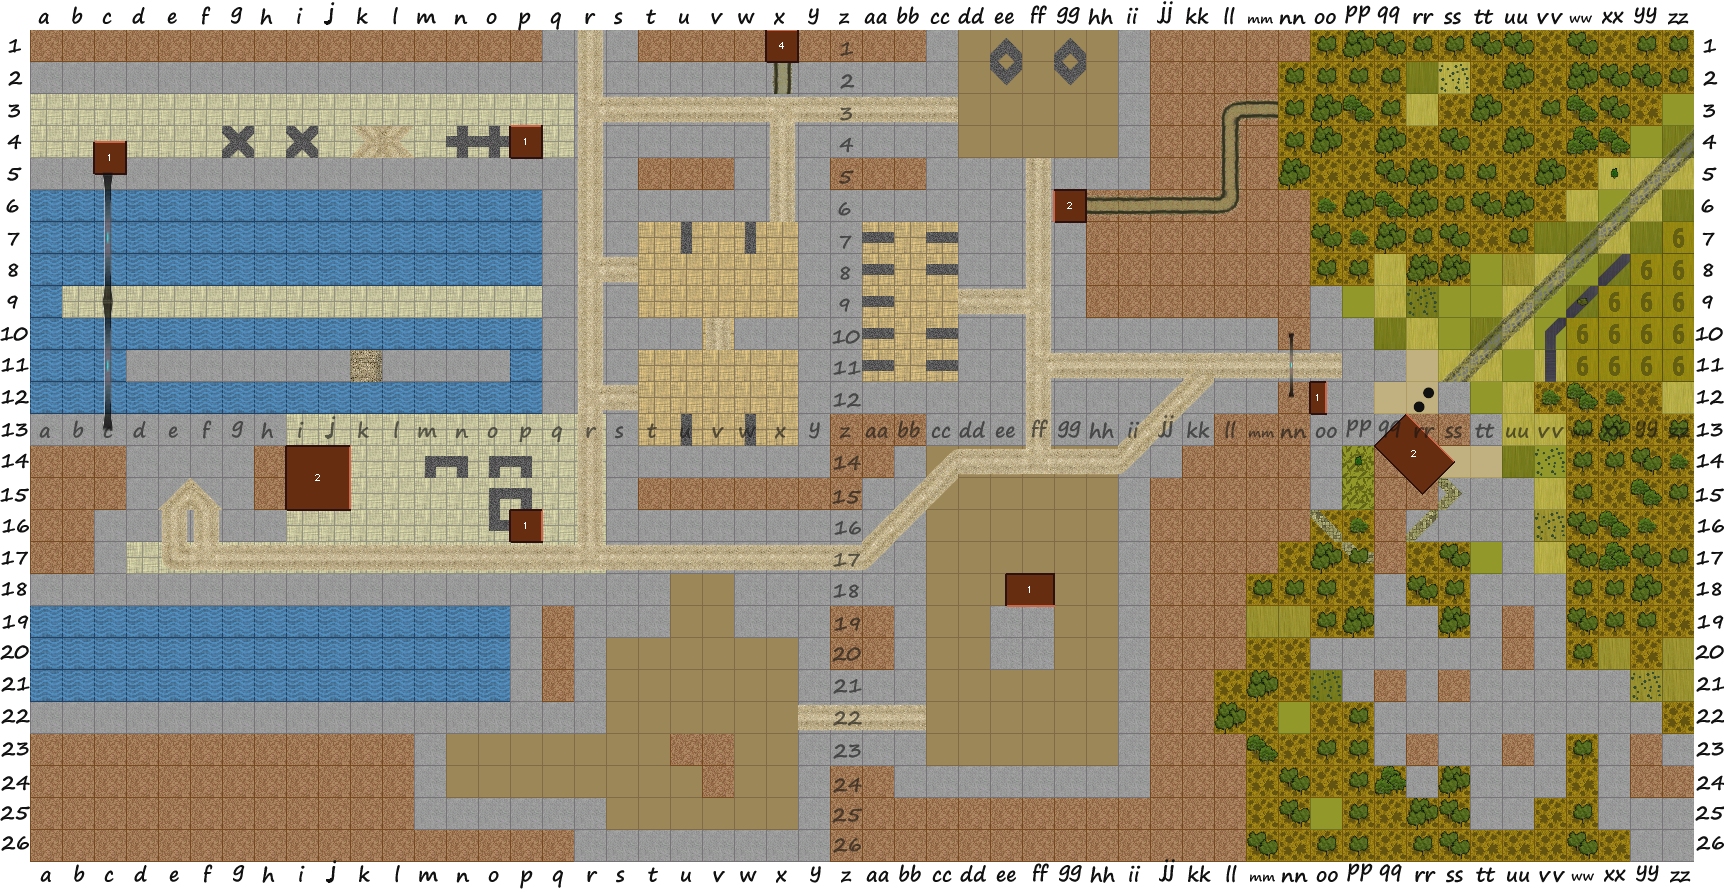
Crabmeat 2, the tip of the Allies’ southern pincer, barrels into SILVER like an AFV that realises that Steiner and the gold will disappear into the Ligurian Sea in five turns’ time. As she enters, Nemchik (Ma Deuce) and Jackson (main gun) make short work of several hapless Panzer personnel. Was Connor/Sutherland amongst them?
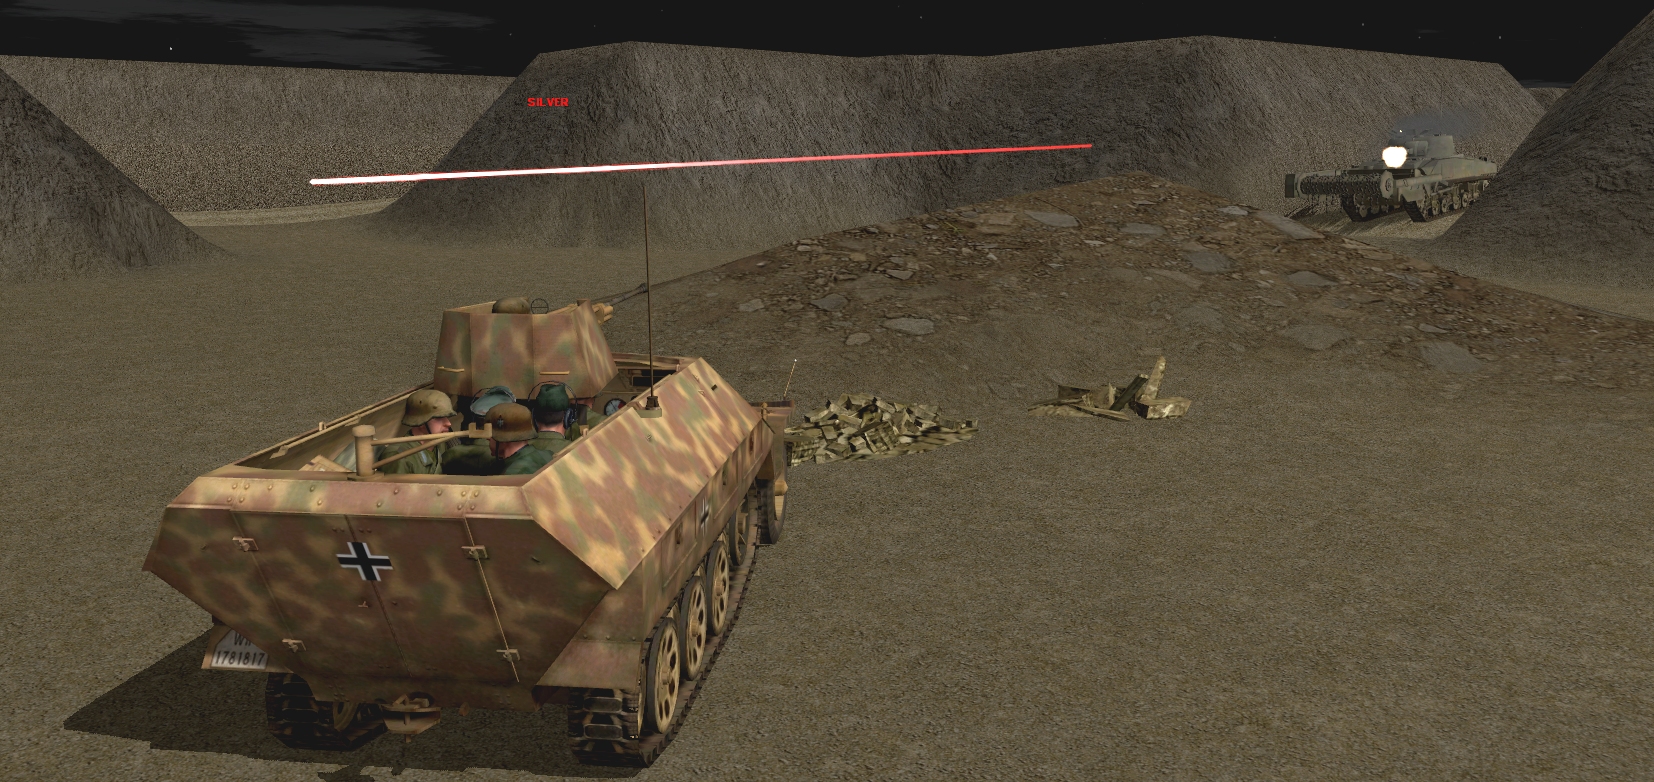
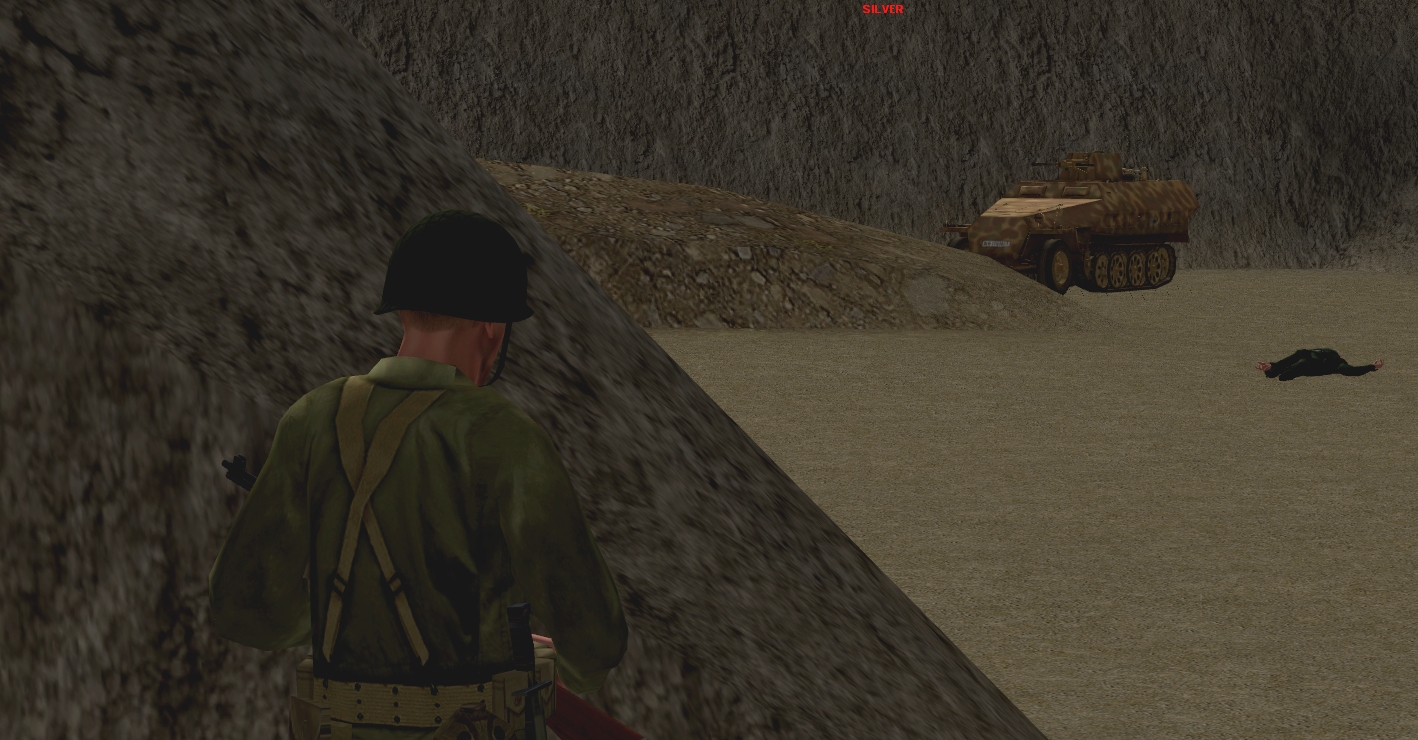
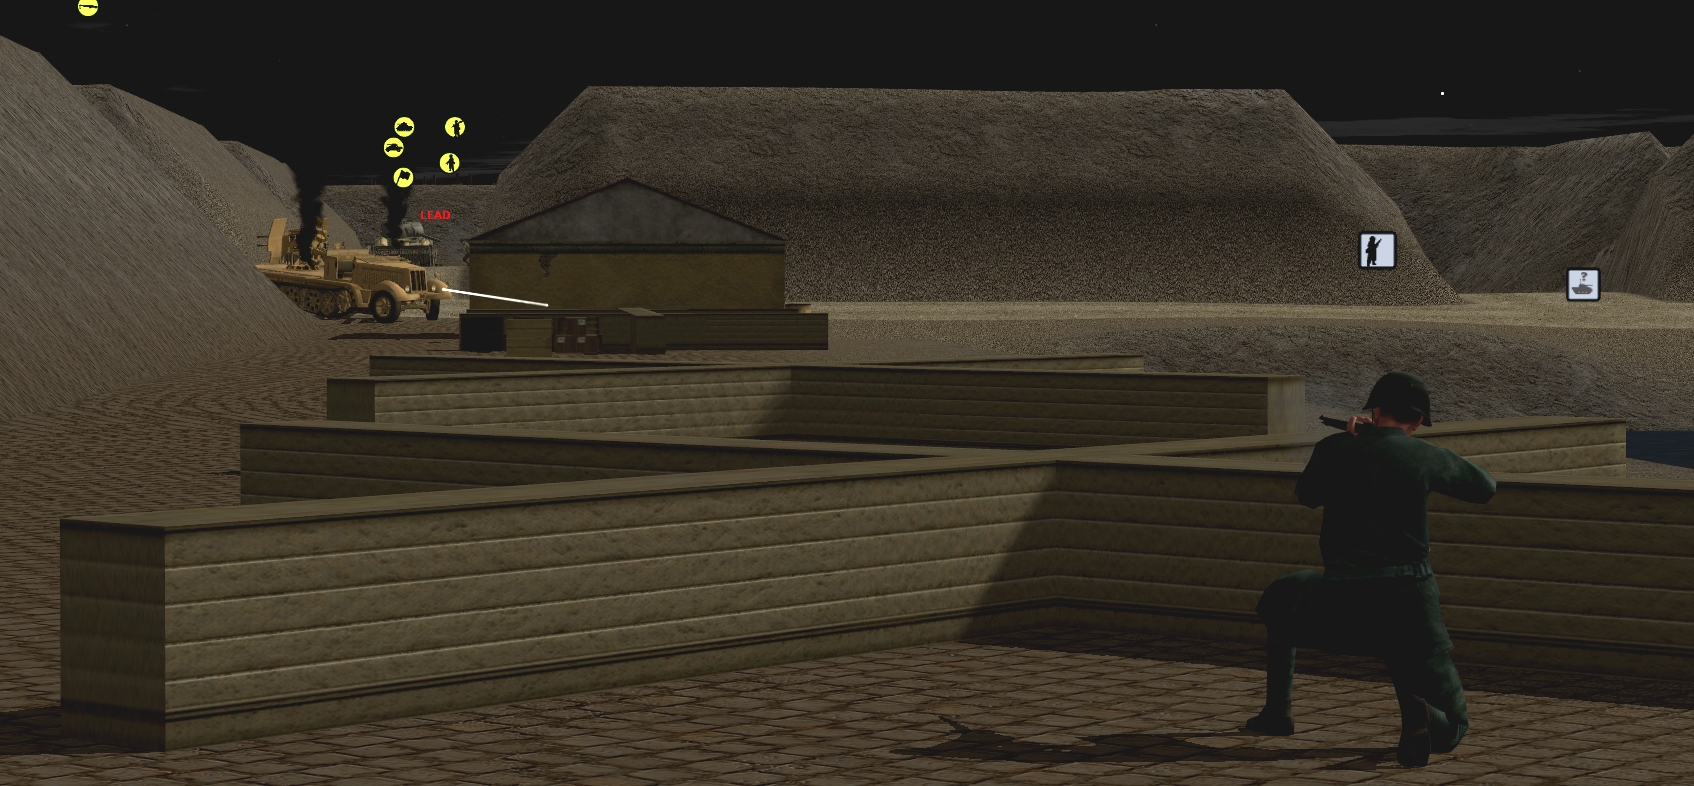
The speeding Sherman also discovers the whereabouts of the support halftrack that culled Count Casari’s Autoblinda in Turn 5. Glimpsed very briefly (the passage between ZINC and SILVER is slightly elevated) the Sd.Kfz. 251 is cowering behind a mound of rubble in the south-west corner of the chamber.
At T+59 the stationary halftrack reappears when advancing 2nd Squad scouts, arriving at SILVER’s northern entrance, re-establish LoS.
While Crabmeat 2 is topping tankies in the south, Crabmeat 1 is attempting to draw a smoky veil between BRASS and the row 3 tunnel in the north. Confirming what we learned in LEAD earlier in the game (CMFI’s smoke shells tend towards the lethargic) the cloud is barely sheep-sized when Big Joe makes his hurried inspection of BRASS.
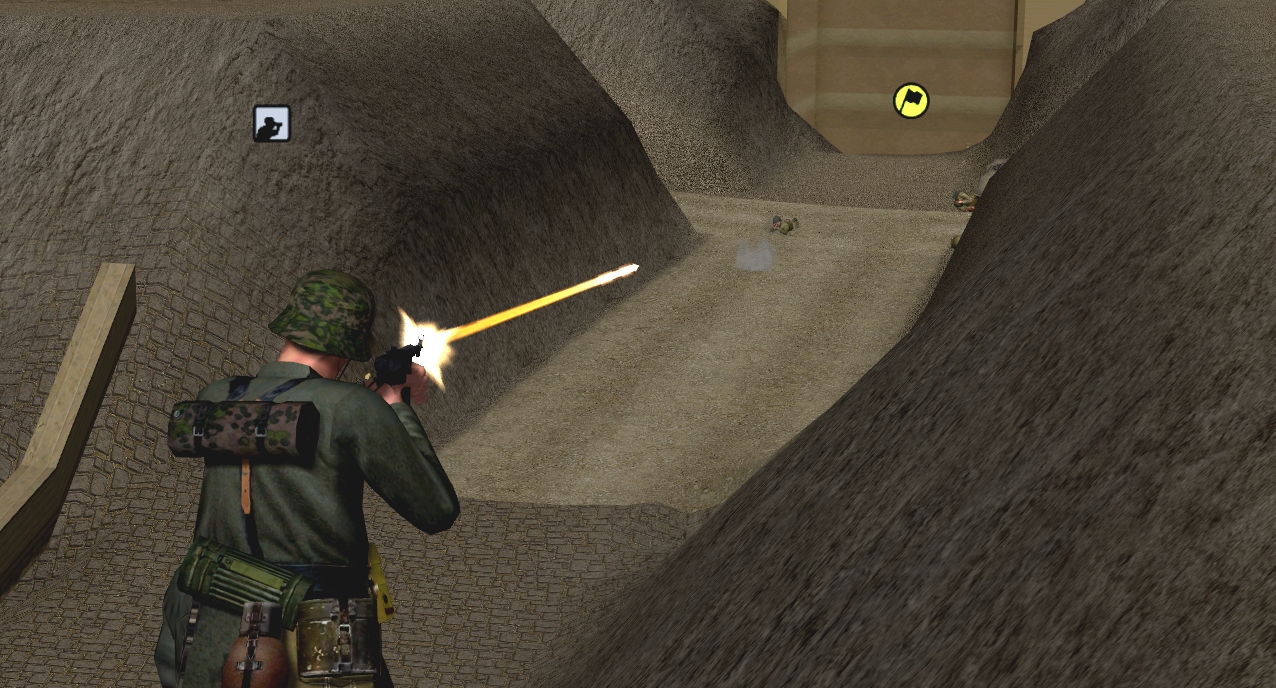
That inspection is conducted under fire, but happily the source of the fire is a lone goon on a high catwalk not a ferocious feline. The portion of BRASS visible from x3 is tankless. Other Turn 10 developments of note: Part of the knot of units committed to row 3 this turn, what remains of 1st Squad exchanged fire with a rifleman at g4 on arriving at their destination. Far more lead travelled east-west than west-east.
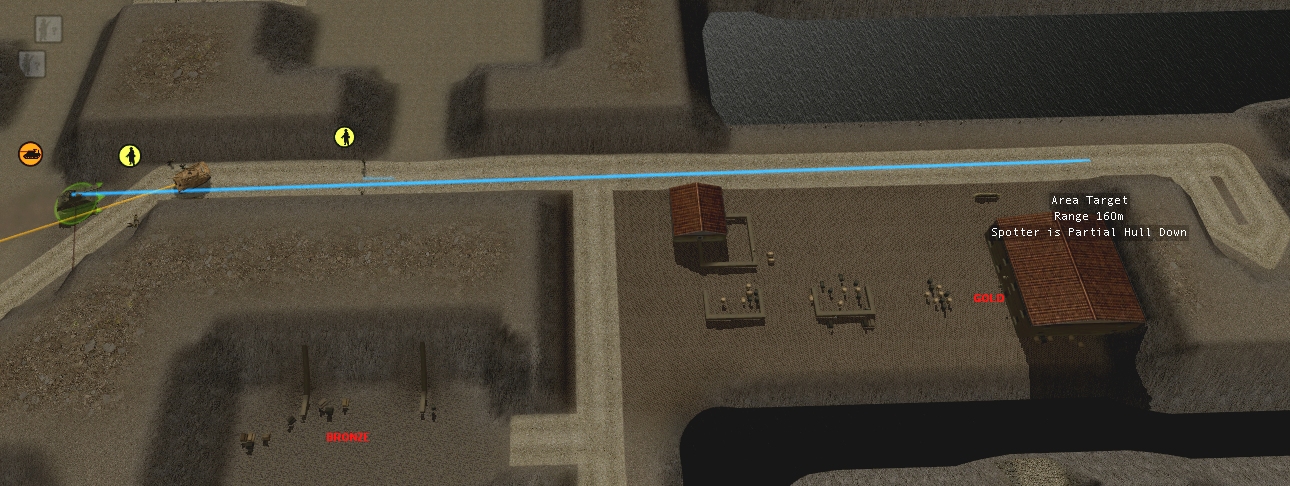
Moving quayward along the row 17 road - the road blocked to vehicular traffic by the Panzer wreck - 2nd Squad somehow managed to make-out a pillbox sited next to the main GOLD structure.
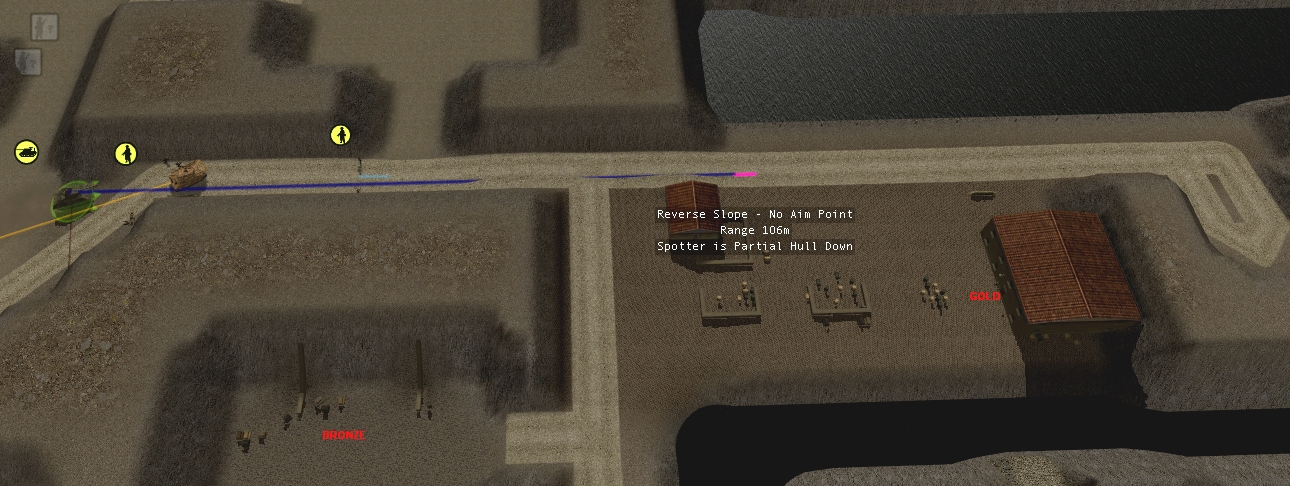
The Achilles’ chances of slipping past Connor’s mount are zero, but from its end-of-turn position the TD can see, and, presumably, fire upon, the far end of the row 17 road.
Although a quick test conducted several turns ago, suggested AFVs could scrape past Belinda’s sorry bulk, Corporal Williams clearly isn’t keen to risk his paintwork. The M3A1 opts to use the diagonal tunnel rather than follow the assigned path.