In this guide, we break down everything you need to find and fortify a base in Project Zomboid and also explain how you can build your own base from scratch. As we walk you through the tools and materials you might need, we recommend using the Project Zomboid map project to find your character and help track down possible spawn locations nearby.
How to find a base in Project Zomboid
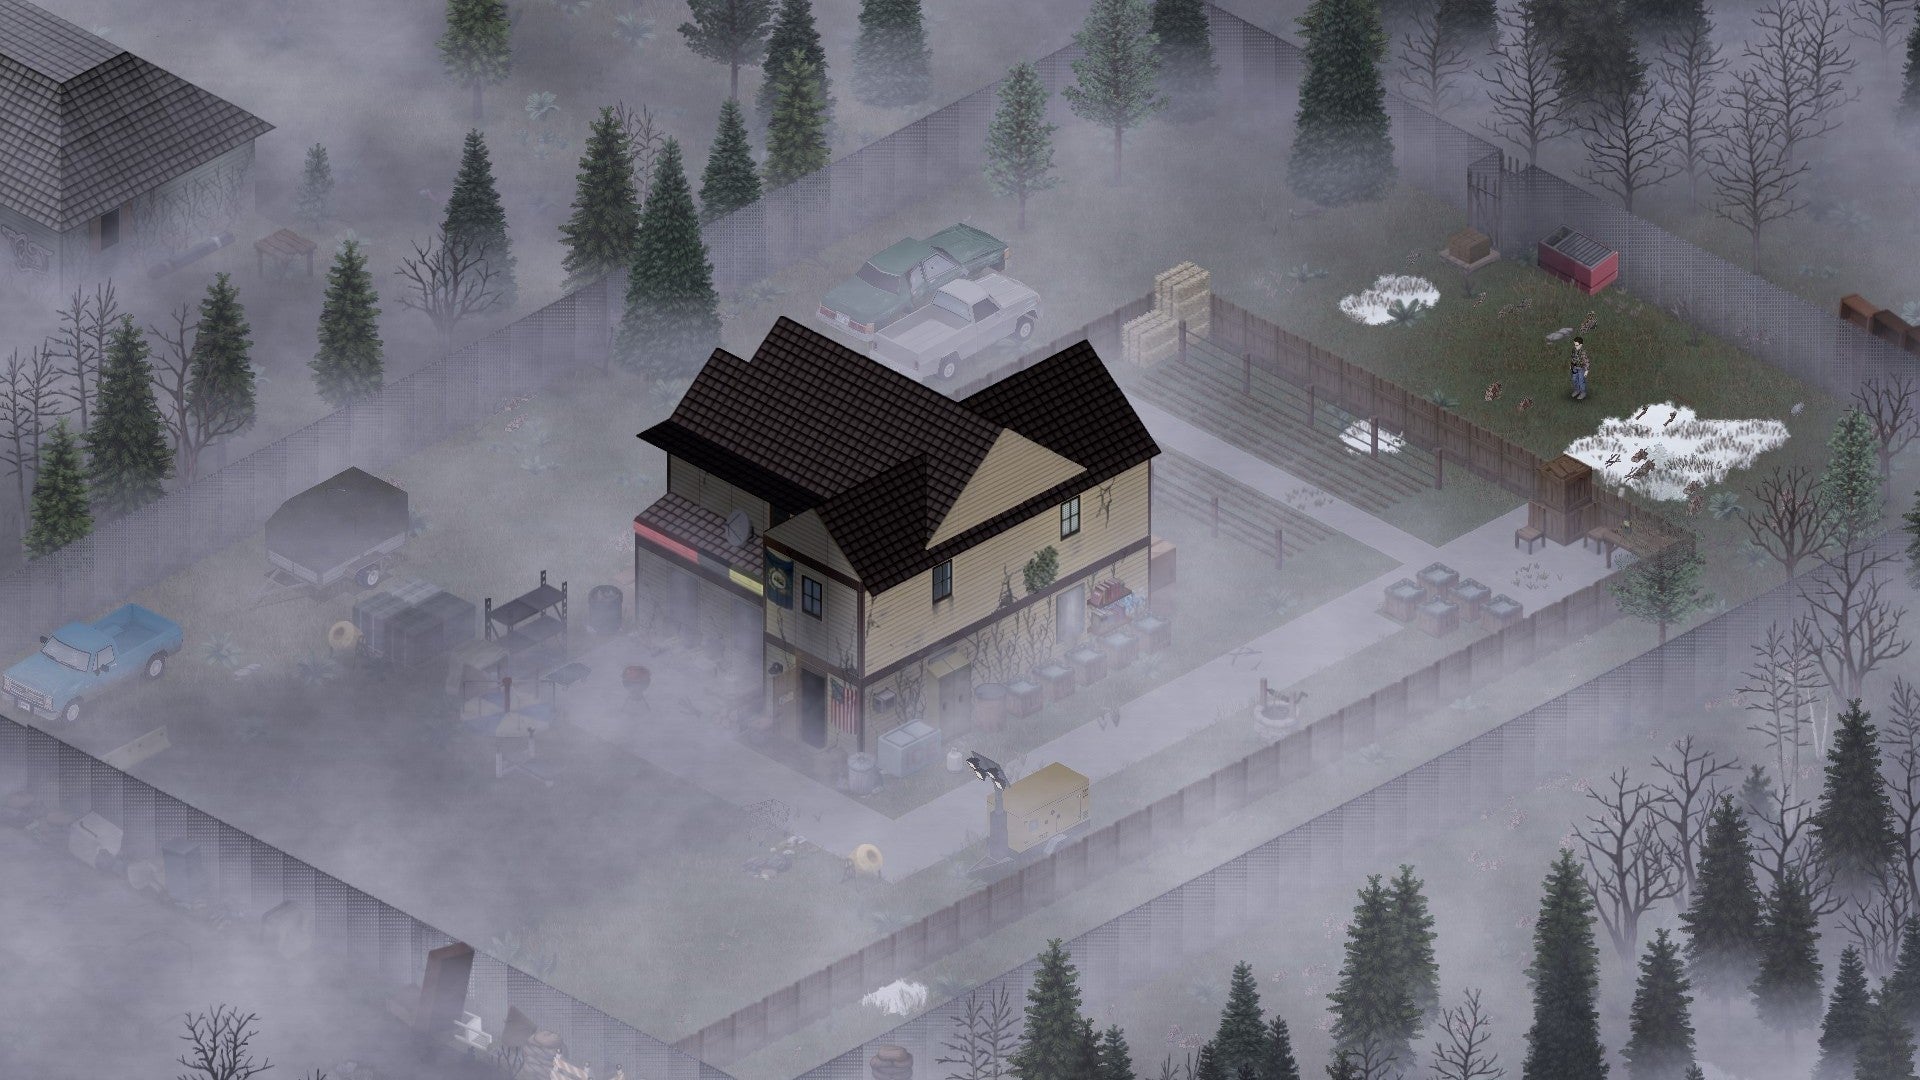
When looking for a base, there are a few handy tips to keep in mind. Below, you can find a handy list of our tips before we dive into detail and explain why they’re so important:
Find a water source Look for storage space Have multiple entry points Have multiple floors
Firstly, you should try to find a base near a water source, like a lake or river. While you can take infinite water from any sink in the early days of the apocalypse, the water will eventually shut off in Project Zomboid. You’ll then need to find a water source within traveling distance if you want to survive, so we recommend making this a priority when deciding where to settle. The water shuts off on a random date, but it is usually within the first few weeks or months. Once you’ve found a base, you should check if there’s plenty of storage space. Cabinets, cupboards, dressers, and wardrobes all act as suitable storage that you should look for when setting up a home in Project Zomboid. Without plenty of storage space, you won’t have anywhere to store your food, water, and medicine stockpiles that could be crucial in the Winter months. You should also make sure that your base has multiple entry points. If you only have one accessible doorway or window, a few zombies could be enough to trap you inside and lead to a very untimely death. If you have more than one exit, you’ll be ready with a few different escape routes in the case of an attack. Finally, the number of floors is also crucial when finding a base. One of the most common survival tactics in Project Zomboid is to make your base in the upstairs rooms of a two-storey house and destroy the stairs. You can then safely operate out of the upstairs rooms, since zombies can’t climb up if the stairs have a gap. This isn’t applicable to the early stages of the game, as you’ll need a sledgehammer before you can destroy stairs. We’d recommend finding a two-storey house near water with multiple doors and some storage space as early as possible, and then you can move your stuff upstairs when you find a sledgehammer later in the game. Sledgehammers are usually found in wooden crates and on shelves in warehouses. If you want to get out for scavenging runs and other expeditions, you can make a sheet rope and use it to climb out of a window. You’ll need multiple pieces of sheet rope to tie together if you want to reach the ground safely. You can also use these sheet ropes to climb back up into your base, but be careful if zombies are roaming around nearby. They might knock off the lowest section of sheet rope, meaning you can’t climb back inside without fumbling around to tie on another piece of rope. If you’re being chased by a horde and need to get inside quickly, this could spell the end. Consider regularly wiping out any zombies that wander near your base, or build some fences around your rope to protect it from the undead.
How to barricade windows in Project Zomboid
No matter how you set up your base, you’ll need to know how to barricade windows and doors. Barricading is absolutely essential in Project Zomboid, as it allows you to fend off interested zombies for longer than usual, ensuring they can’t get inside your base and pin you in a corner. To barricade, you’ll need a few items. Firstly, you’ll need a material to use as a barricade. Wood is the easiest to find, but you can also use metal sheets and metal bars for a sturdier defense. If you’re using wood, you’ll need to get your hands on wooden planks before you can start barricading. To get wooden planks, you can:
Chop down a tree with an axe and then use a saw to turn logs into planks Disassemble furniture using a hammer and a saw Find them in warehouses and sheds
Metal sheets and bars are also found in warehouses and sheds, as well as garages and other storage units. When you’ve got materials, you’ll need some tools to actually create the barricade. If you’re using wood, you will need a hammer and two nails for each plank. Since you’ll need four planks to cover a whole window, you’ll need 8 nails in total. Luckily, you can sometimes find nails in a box of 100, which is more than enough for barricading any windows and doors in most bases. If you decide to use metal bars or sheets to cover windows, you’ll need a welder mask and propane torch. Like planks, you can find nails, hammers, saws, welding masks, and propane torches in warehouses, sheds, and other construction buildings throughout the world of Project Zomboid. Regardless of which materials you use, the process of barricading a window is all the same. When you have the required materials and tools, right-click on a window and select barricade.
Can you build your own base in Project Zomboid?
So far, we’ve focused on barricading an existing building. This is almost always the best approach since it requires little work and they usually have all the amenities you could ever need in the apocalypse. However, building your own base is part of the fun in any survival game and it is certainly possible in Project Zomboid. It’s extremely difficult and time-consuming, but it is possible nevertheless. Before you start building, you need to find an axe, saw, and hammer. You can use the axe and saw to chop down trees and turn the logs into planks, as mentioned above in the barricade section. You then use the hammer to craft various walls, doors, pieces of furniture, and other essential base-building items. Like all of the other tools mentioned above, you can find an Axe in wooden crates in warehouses. It’s also possible to find an axe on firefighter zombies. When building walls, you must start by building a wall frame using two planks and nails. Rather than using the crafting menu, you make wall frames and other base-building items by right-clicking on the ground and using the carpentry menu. After making a wall frame, you can then upgrade it into a proper wall using two more planks and four nails. You can upgrade a wall 3 times in total, which makes them much stronger. While it is much easier to source and use wood for building, you could also use metal sheets, metal bars, and welding rods. As with barricading, this requires a welder mask and propane torch. Metal walls are much stronger than wooden walls, but metal doesn’t grow on trees. If you’re planning on using metal, you’ll need to go on multiple scavenging runs to find warehouses and sheds across the map that could contain the materials you need. Once you have the necessary tools and materials, you can build metal frames and walls using the carpentry menu. That covers everything you need to know to find, fortify, and build your own base in Project Zomboid. If you want to know what comes next, check out our beginner’s guide to Project Zomboid for some more tips and tricks for the early stages of the apocalypse. Make sure to also take a look at our list of the best survival games on PC in 2022 if you want to get another fix of crafting and base-building.