Unlike when installing a new CPU, there are no manufacturer-specific sockets to worry about here, as all graphics cards are designed to fit into the same PCIe slot that’s present on pretty much every motherboard. There’s some light screwdriver-wielding required, but even so, upgrading your graphics takes should only take a few minutes. Not a bad time investment when, in terms of performance gains, it’s probably the most significant change to your PC you can possibly make. Another difference from changing the CPU is that it’s easy to install a GPU when the motherboard is already inside the case, so you won’t have to disassemble your rig to upgrade it. That said, always make sure that your system is switched off and disconnected from the mains before changing components like this. Speaking of, we’ve got guides on how to install RAM and how to install an SSD as well.
How to install a new GPU
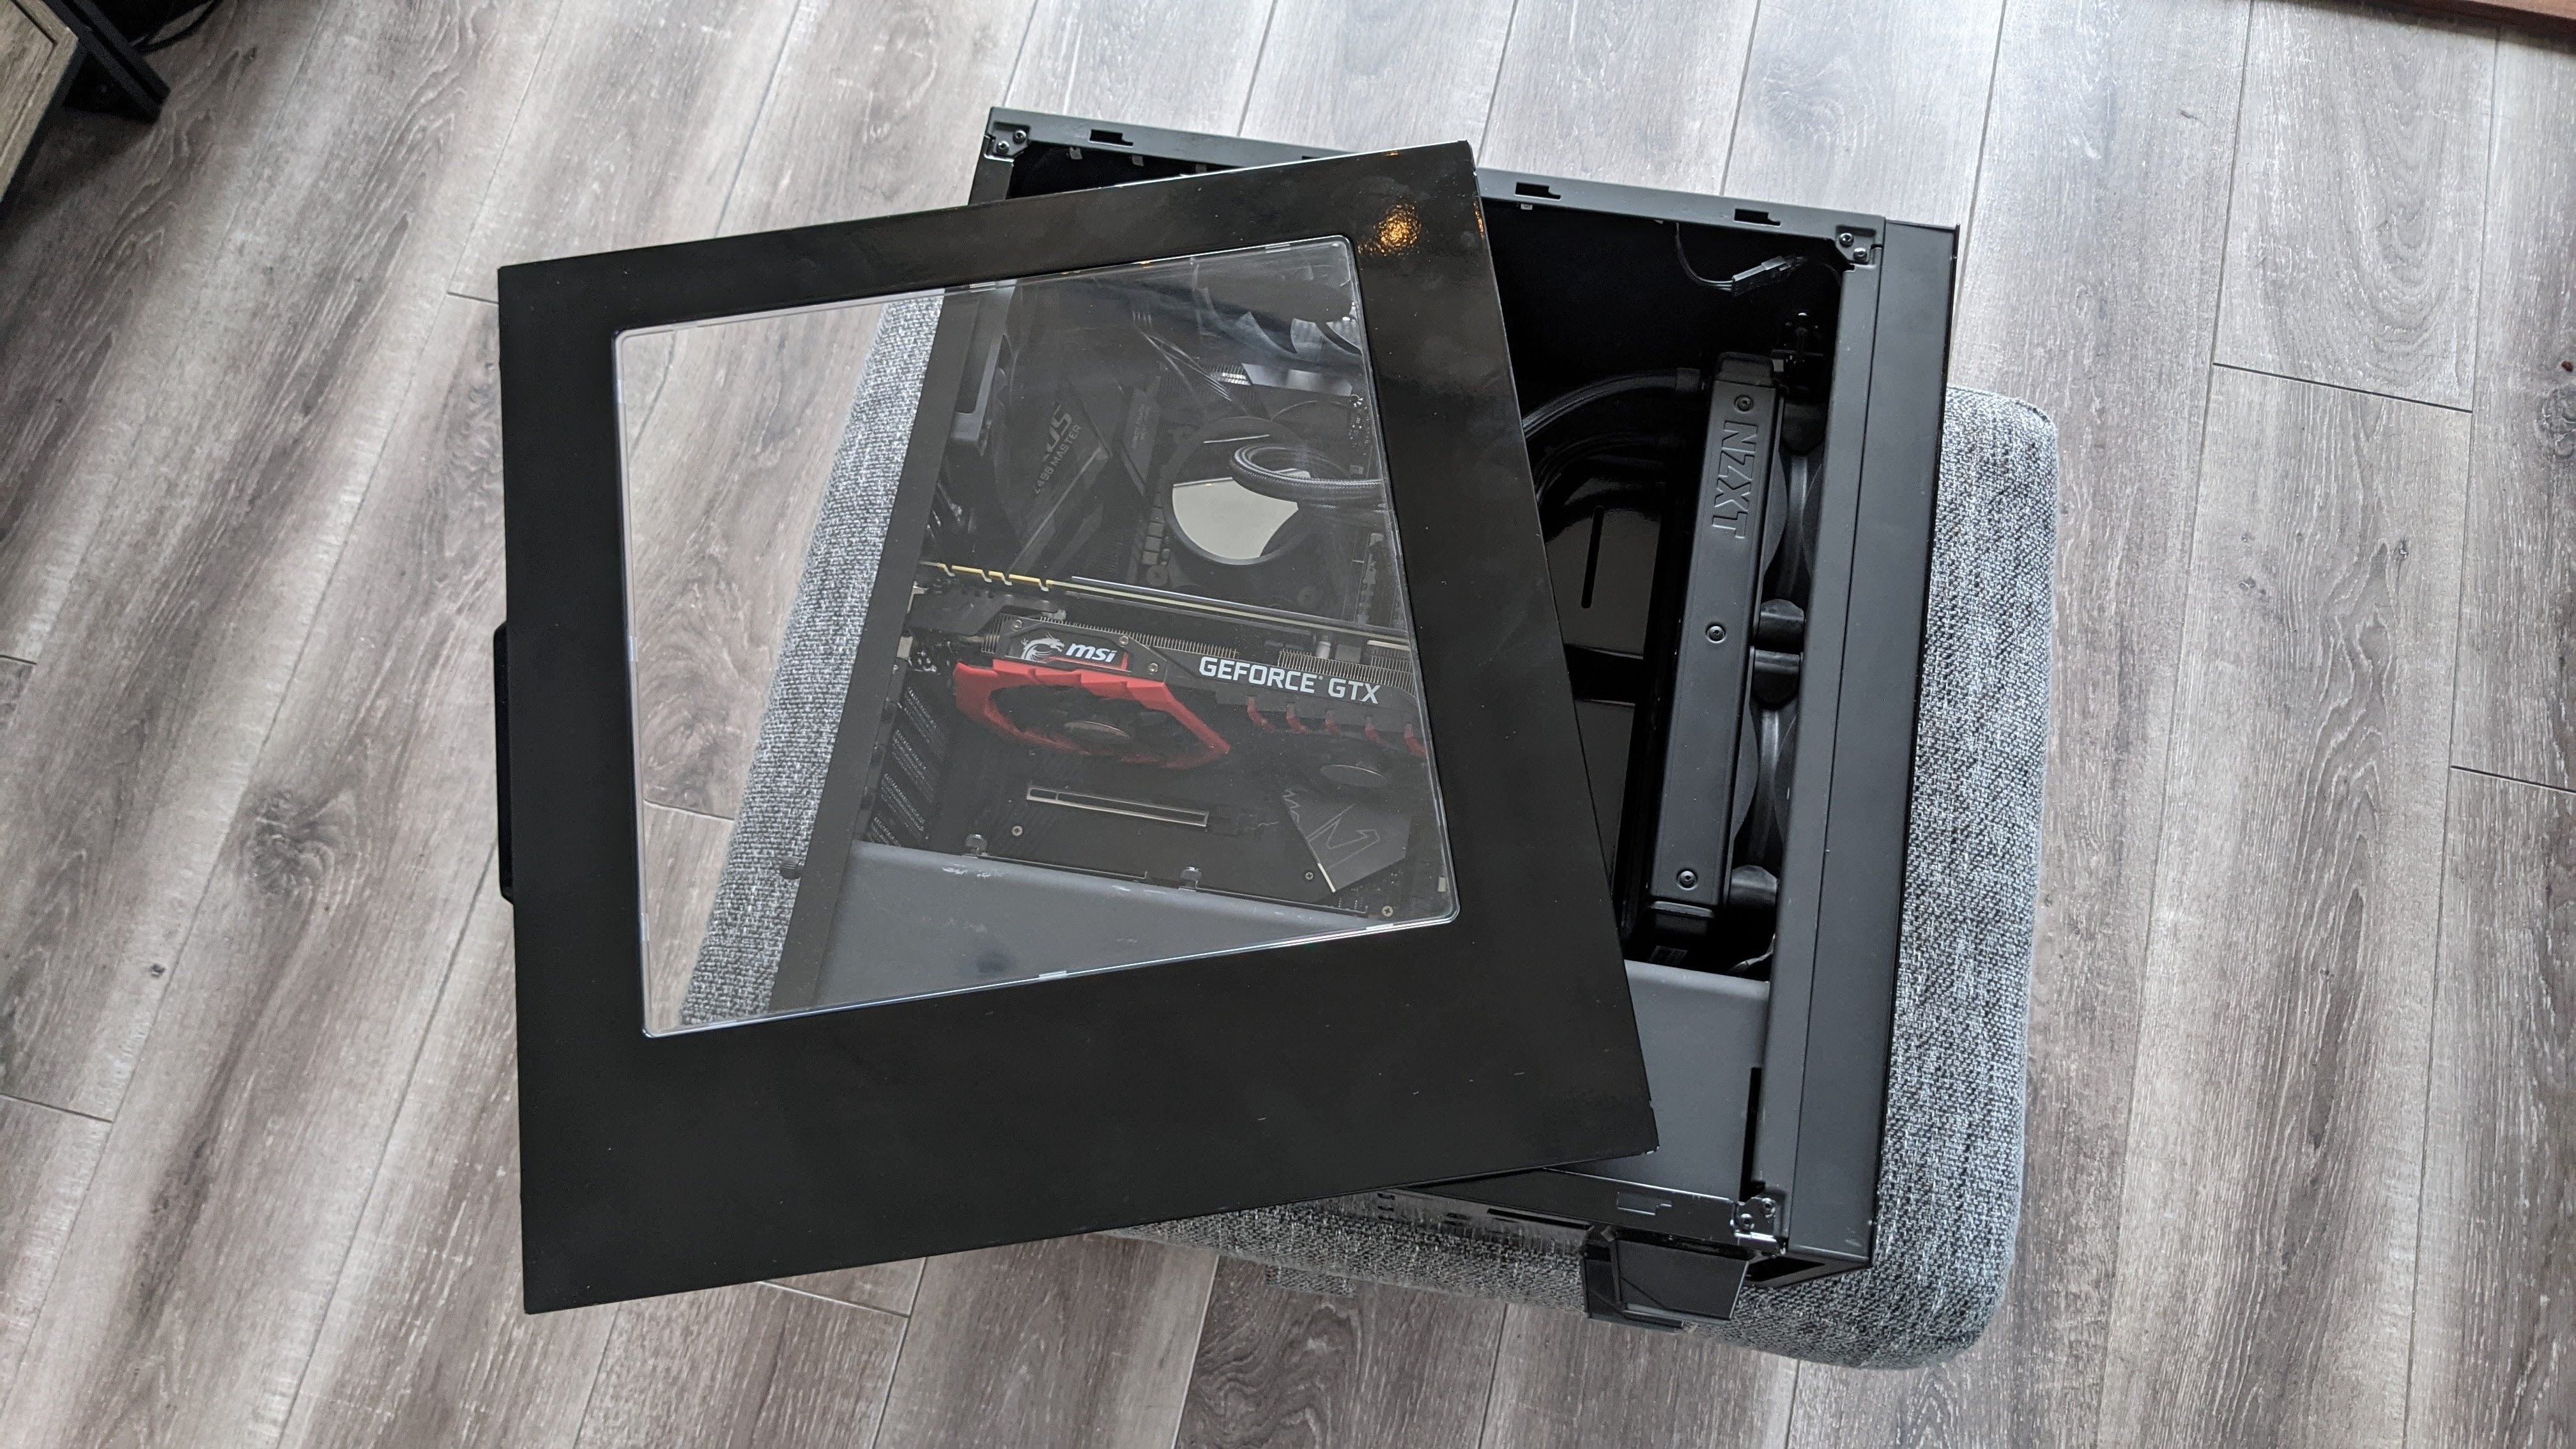
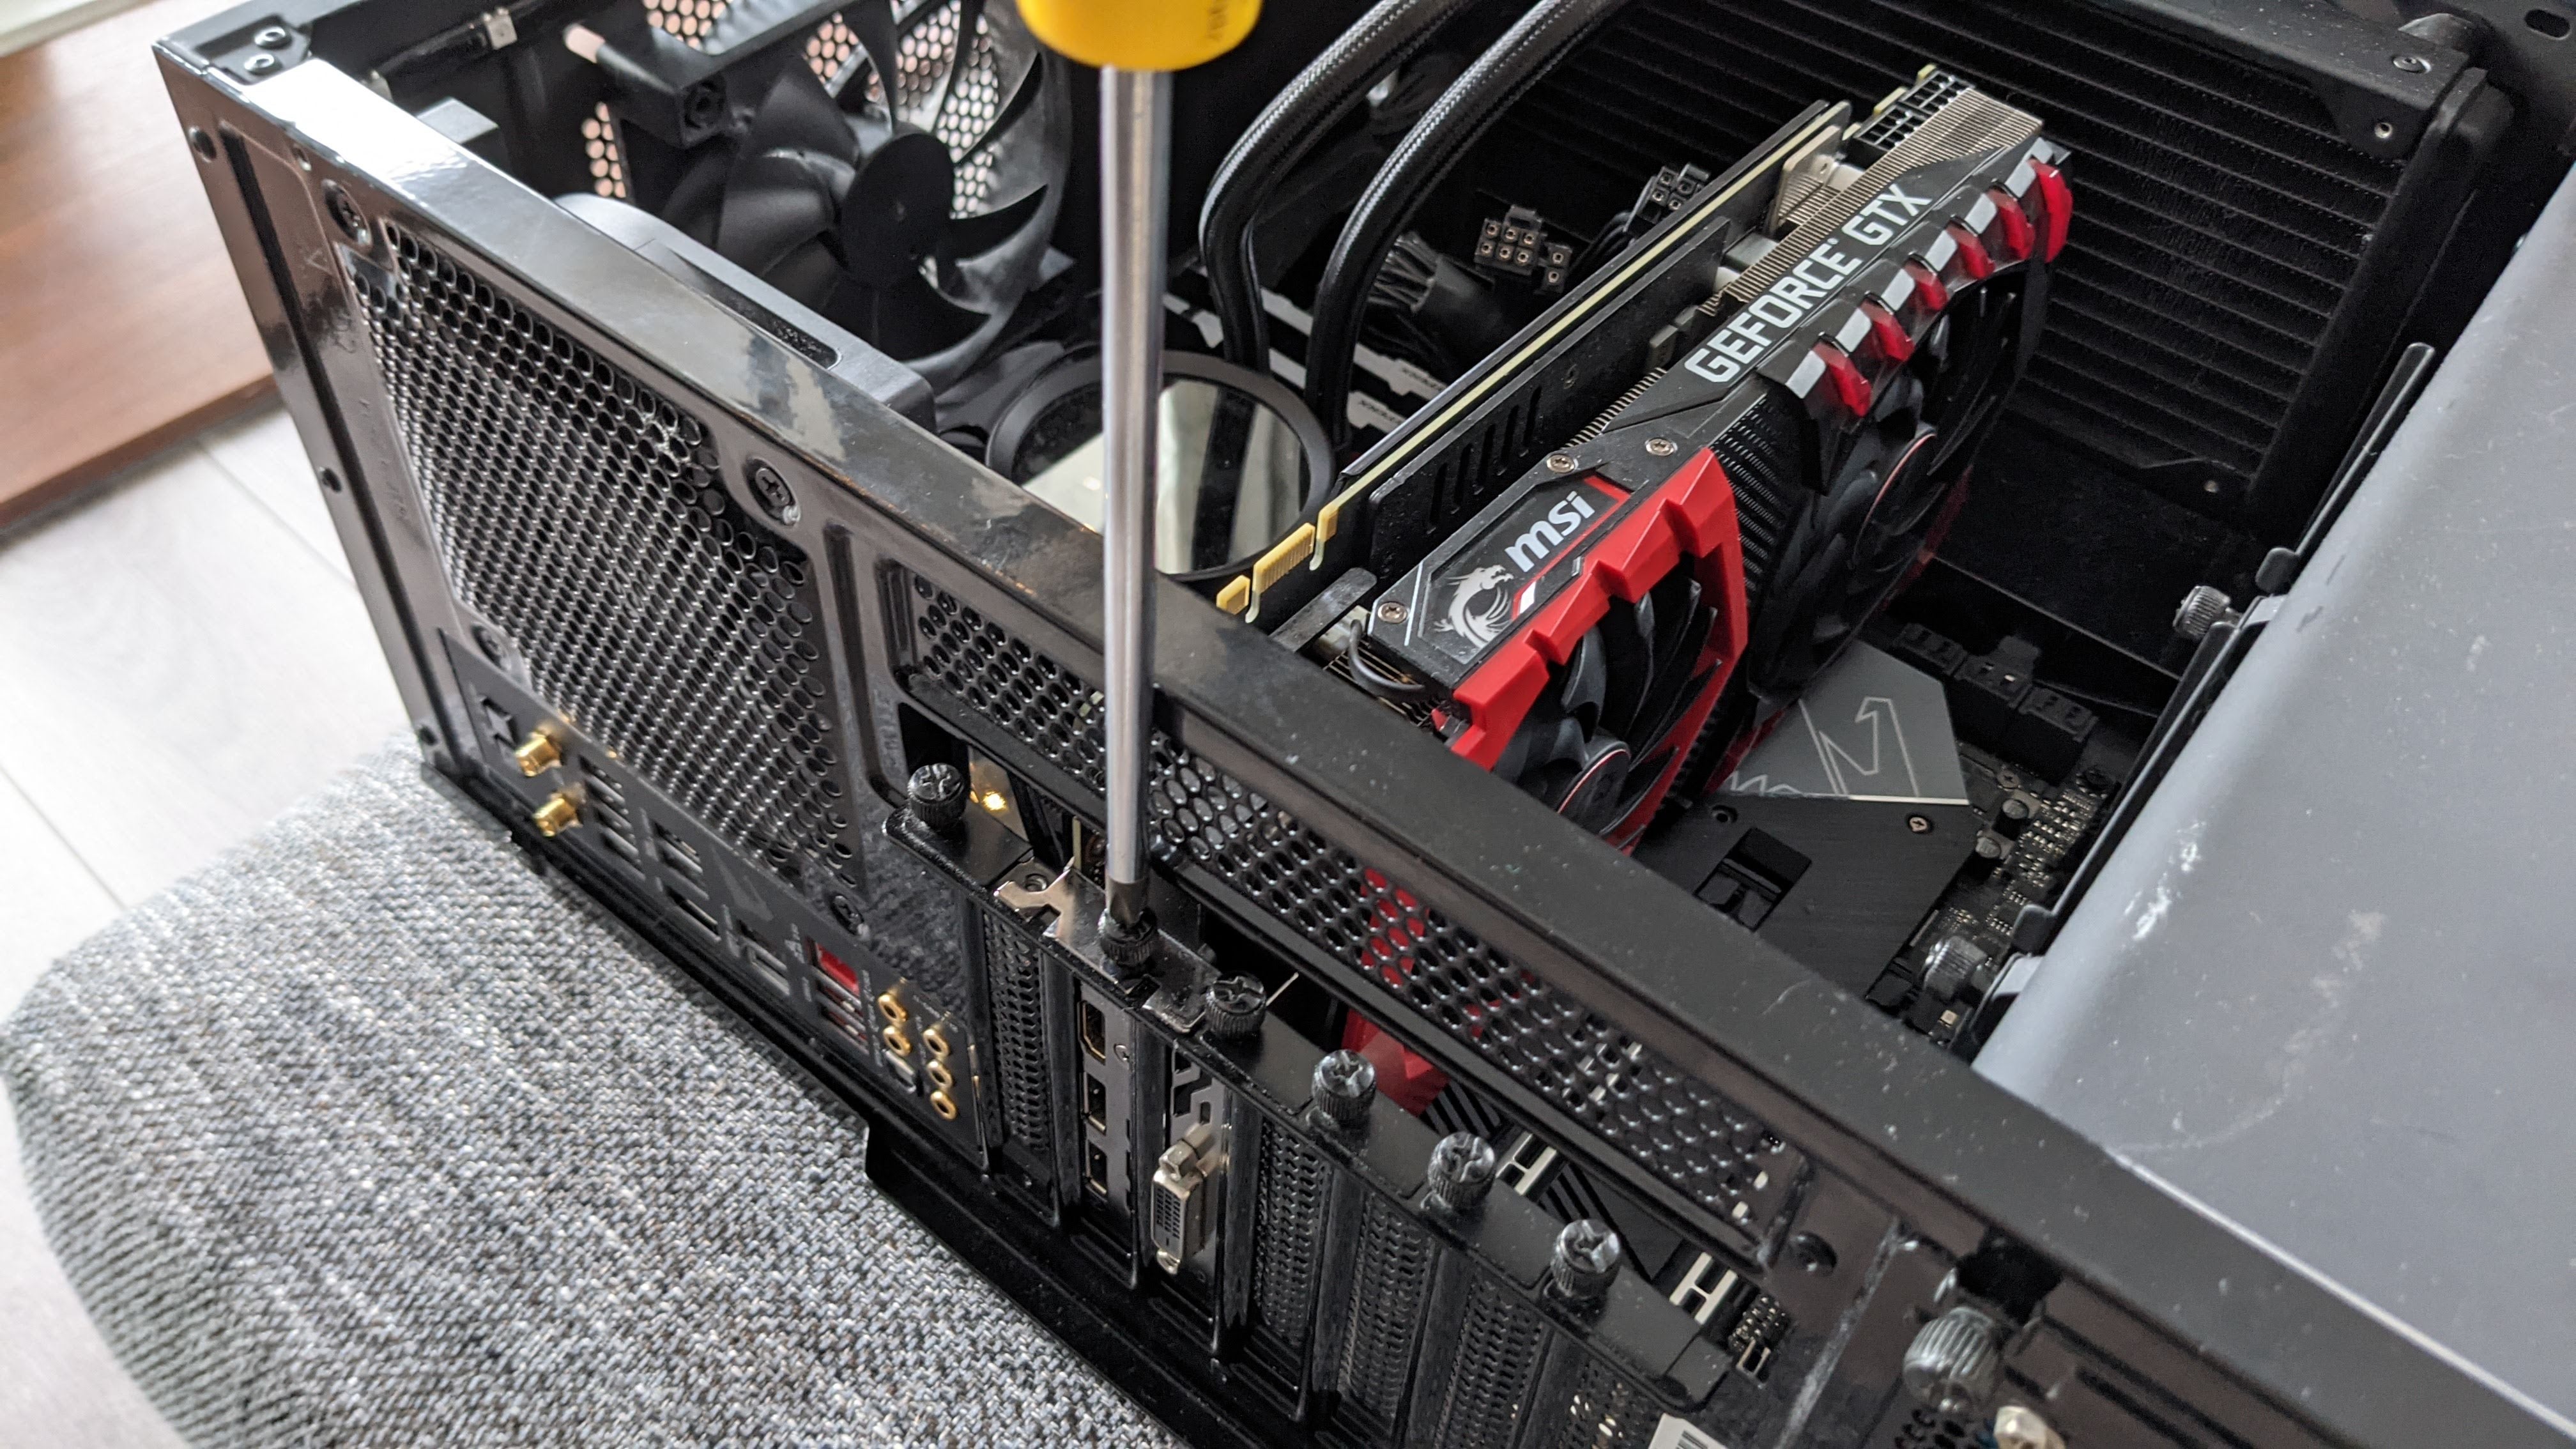
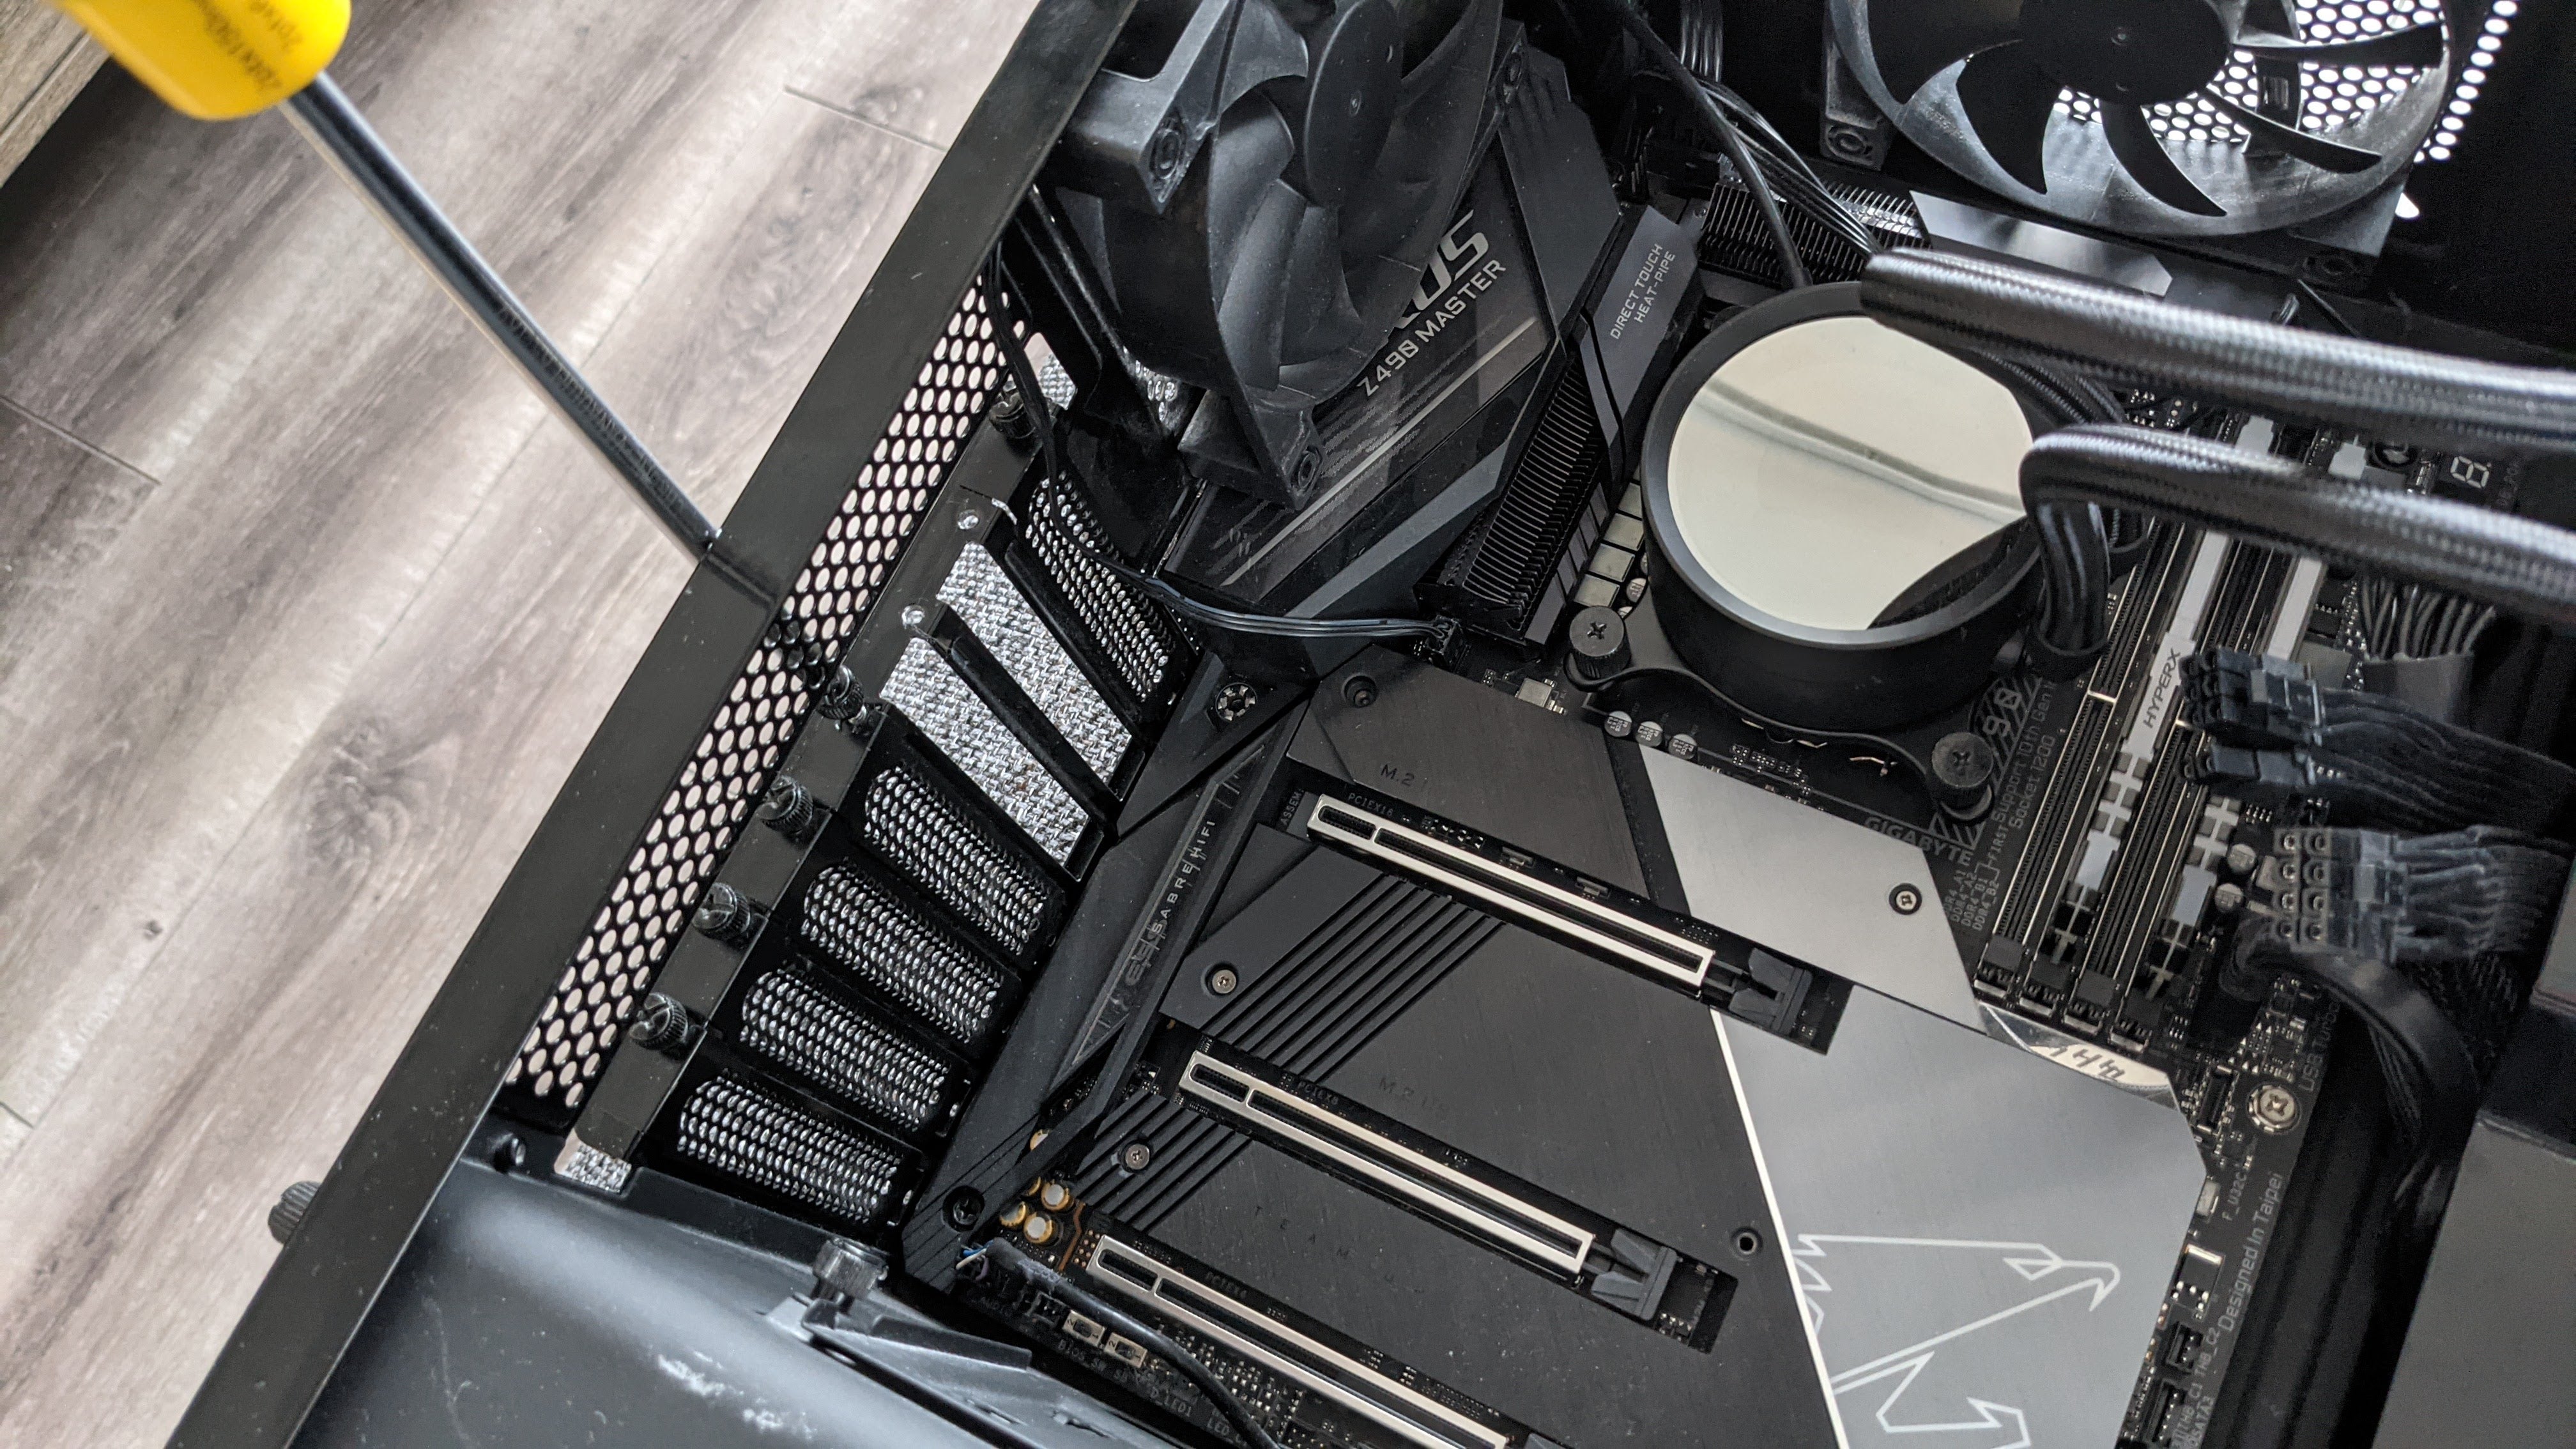
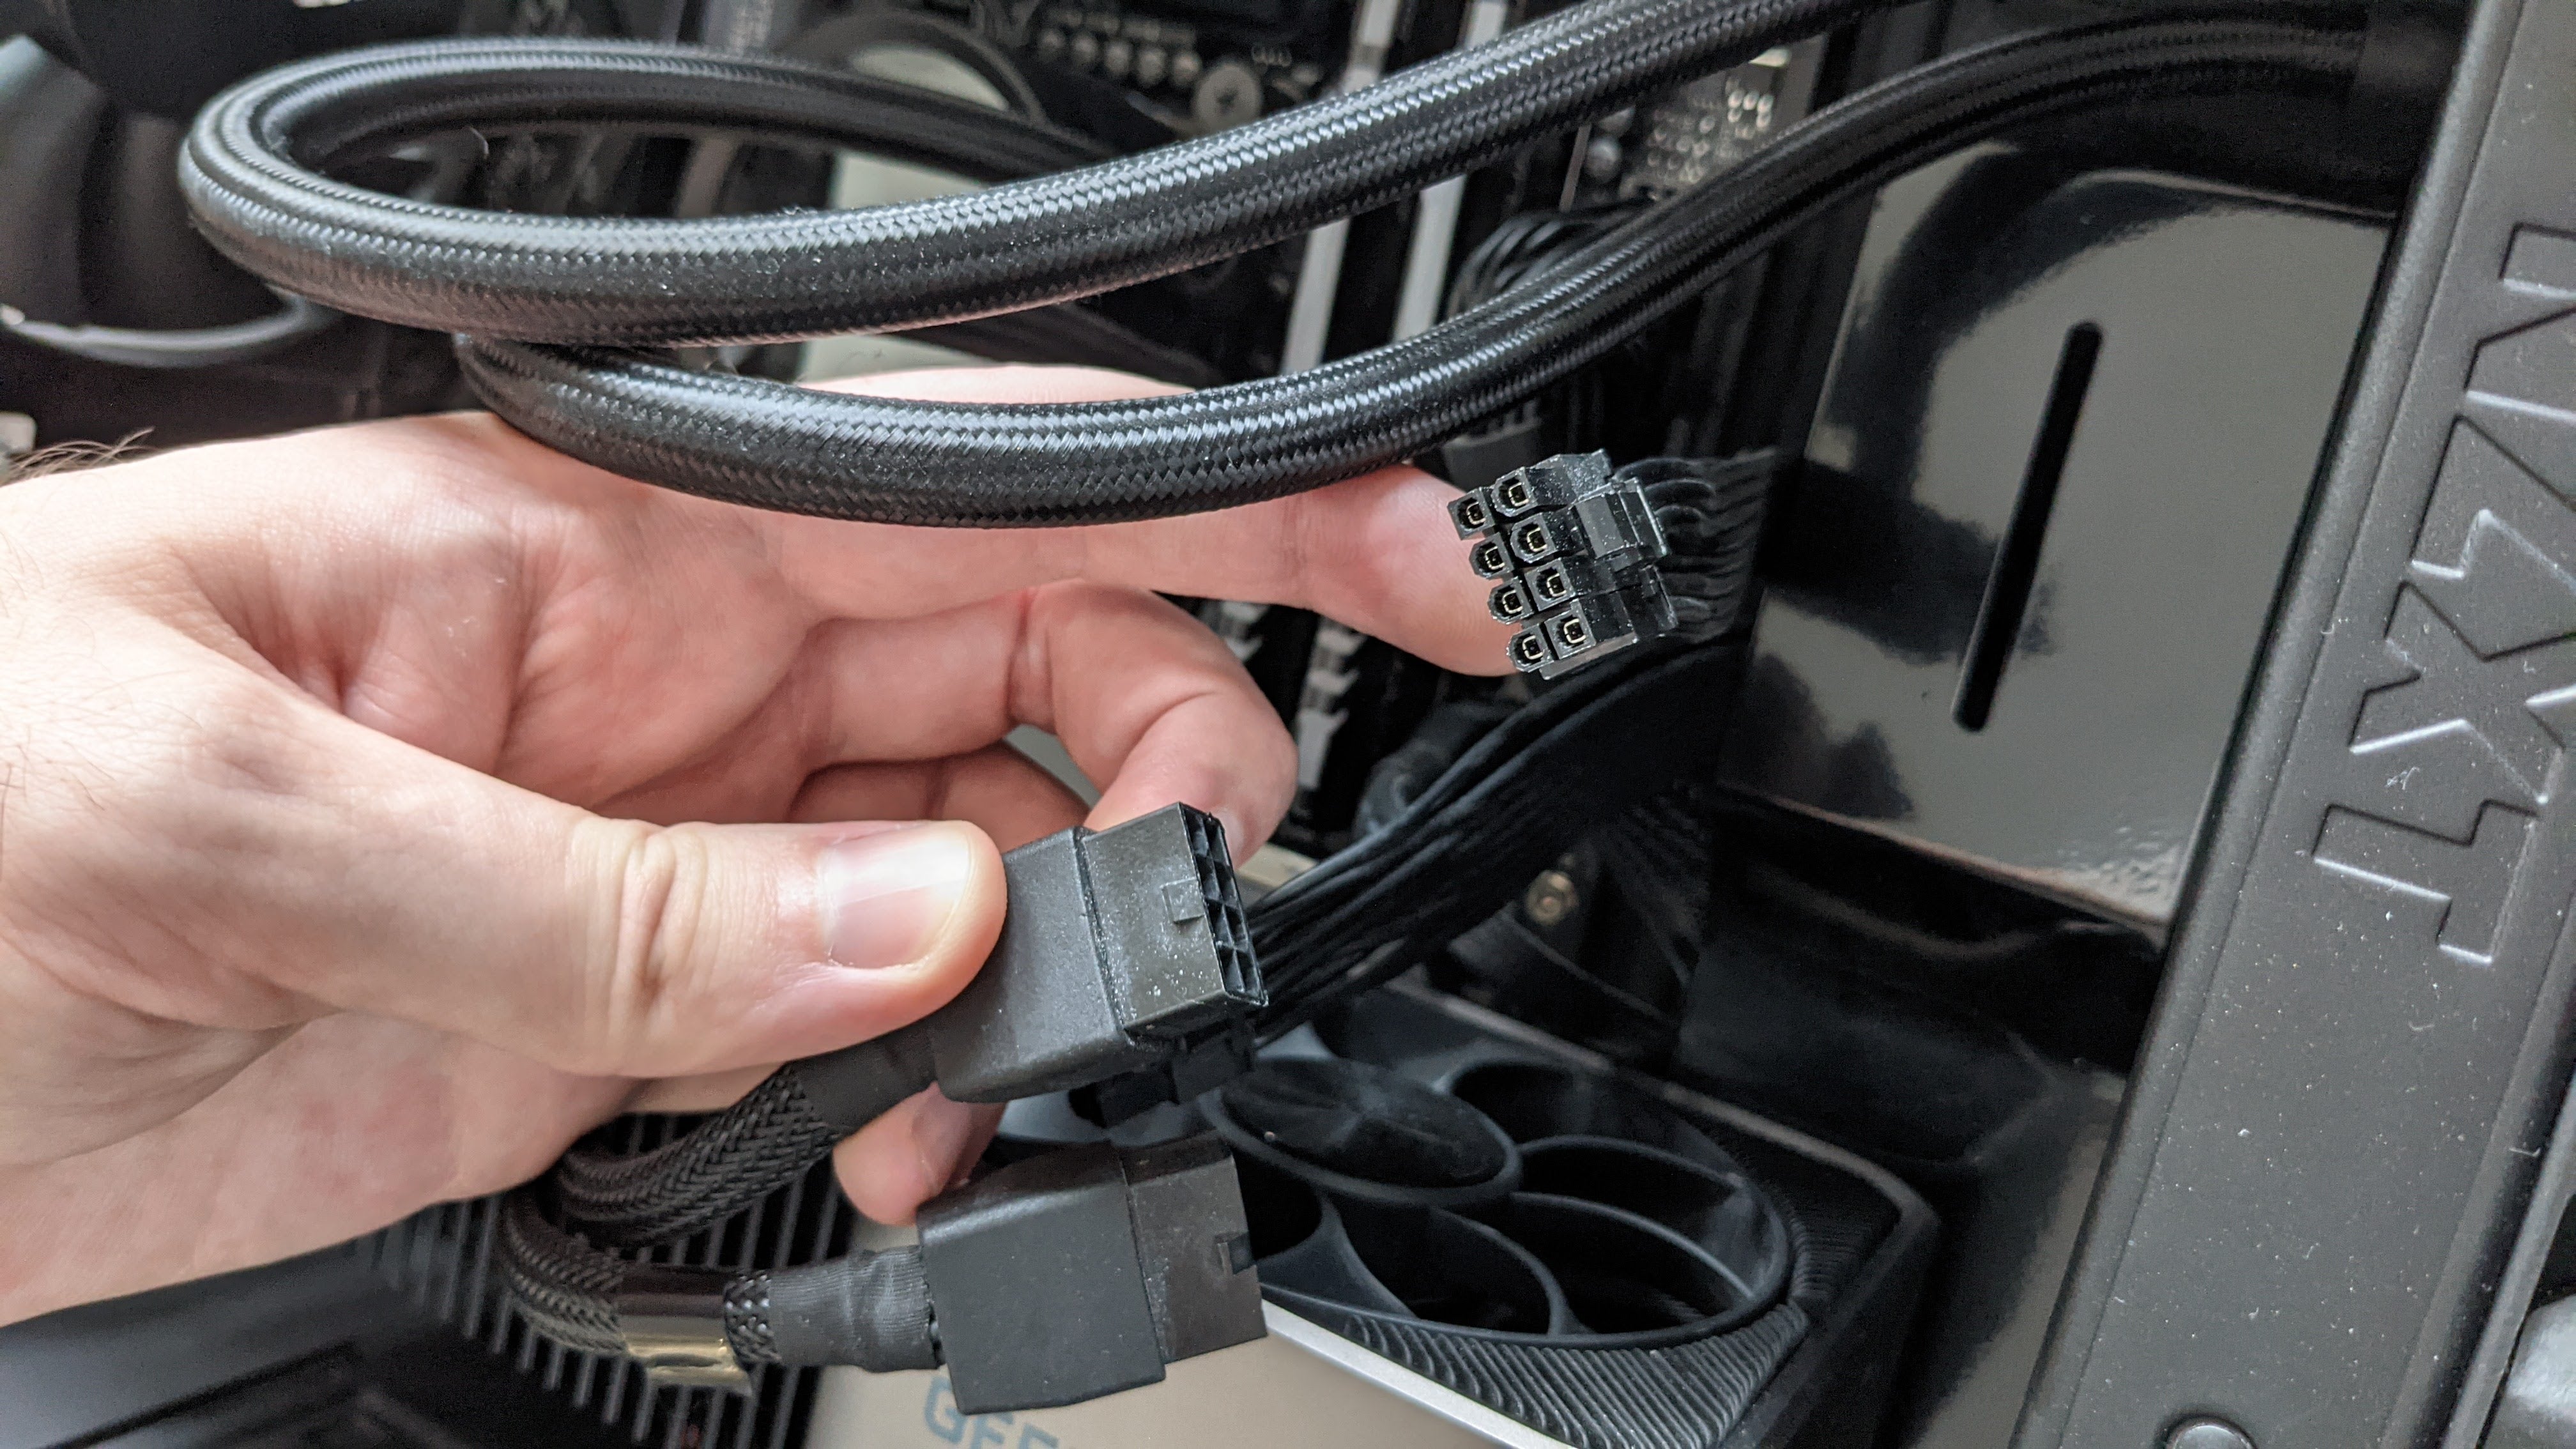
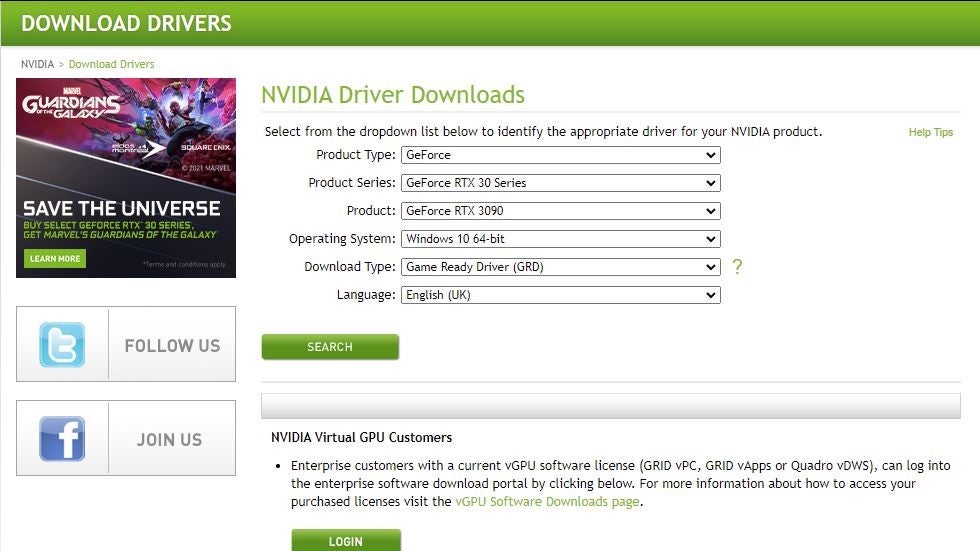
Step 1: Remove the side panel of your PC case to access the main internal chamber. Step 2: If you’re replacing an old graphics card, you’ll need to remove it first. Start by disconnecting any power connectors and display cables, then use a screwdriver to undo the screws securing it at the rear of the case. At the right edge of the card’s PCIe x16 slot, push down on the latch to release the card, then pull it out of said slot. If you’re building a PC from scratch, start by using a screwdriver to remove the slot covers from the rear of your PC. This is where your GPU’s rear ports and/or vents will poke out, so you only need to take out two or three at most. To see which covers need removing, check where your motherboard’s topmost PCIe x16 slot is. This is where you’ll be inserting the card, so remove the covers that are level with and just below the x16 slot. Keep the loose screws close to hand, too – you’ll need those again in a moment. Step 3: Press down the latch on the PCIe x16 slot to open it, unless it’s still open from removing the old GPU. Then, push your new graphics card fully into it. It should lock in place with an audible click, as the latch snaps back down by itself. Why use the topmost slot specifically, when you may seemingly have other x16 slots on the motherboard? Usually, these aren’t x16 slots at all, but run at slower PCIe x8 or even PCIe x4 speeds. There’s no need to hamper your GPU performance by dumping it in anything other than fastest slot; if you do have additional full-size slots, save them for less important components like sound cards. Step 4: Secure the card by using the PCI slot screws to affix the card to the case’s chassis. They go right back into the same holes you removed them from a couple of steps ago. Don’t lose those screws or otherwise skip this step, as although locking the card into the PCIe x16 slot will stop it falling out, the extra support is good for your PC’s health. Otherwise the card will just hang out of the slot, sagging and potentially damaging the motherboard over time. Step 5: Connect the power cable, or cables, from your PSU to the 6-pin or 8-pin socket(s) on the card. The cables are often labelled “PCIe” and always use 6-pin or 8-pin headers, including some that are 8-pin but can split apart to form a 6-pin connection. AMD and Nvidia cards use the same type of power connector, though some recent Nvidia Founders Edition cards require an additional adapter as well. This comes in the box, so grab it, connect the standard PSU cables to it, and plug the other end into your GPU. Step 6: Connect your monitor using the video outputs on the rear of the card. Once connected, you can power up your PC once more. Step 7: Install the display drivers for your new card. Assuming you’ve connected everything correctly, your PC should be back up and running, though your display may be running at a much lower resolution than normal. No worries – to both fix this and get the best possible performance out of your new GPU, simply load up a browser and find the latest display drivers for it. AMD and Nvidia have these on their respective sites, so just enter the model details, then download and run the installation tool.
Download the latest Nvidia drivers Download the latest AMD drivers
Congratulations – not only have you found yourself a sweet new graphics card in borderline hostile market conditions, but you’ve successfully installed it. Now all you need is one of the best gaming monitors to make sure the extra performance is going towards the best possible visuals.