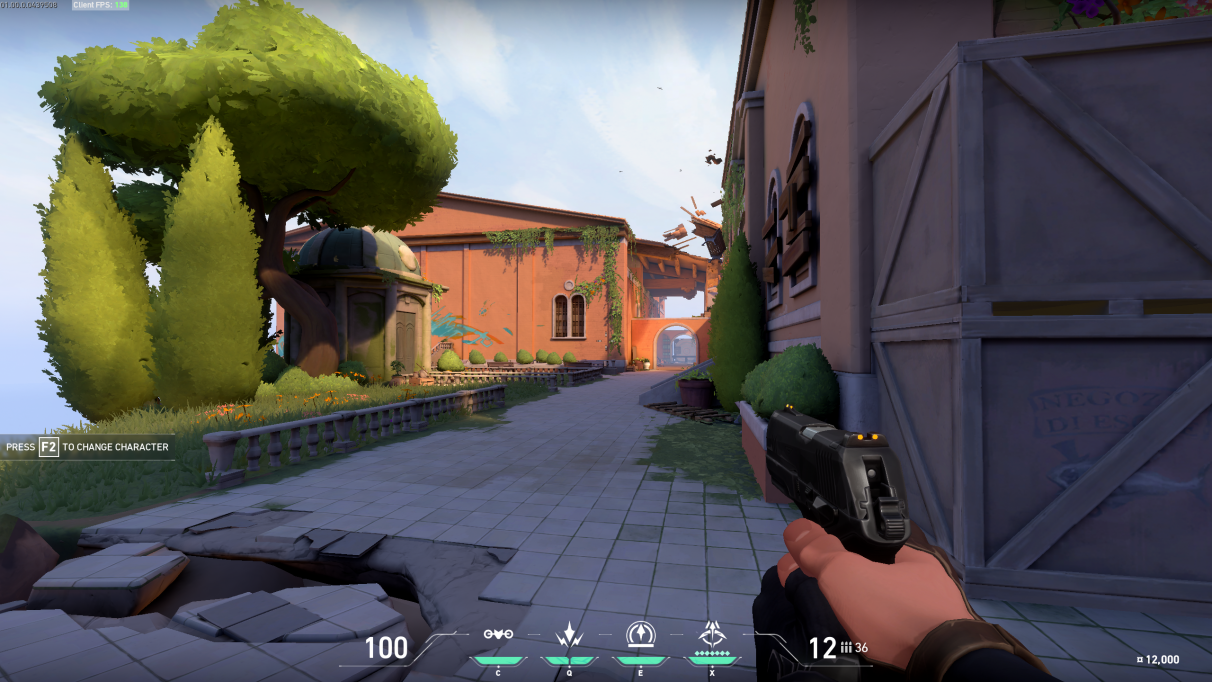
Below, you’ll find everything you need to know about playing Valorant on PC, including its PC requirements and how to get the best settings. You can also read more about the game itself in our Valorant review, as well as How to play Valorant and get the best from all the different Valorant characters in our extensive set of Valorant guides.
Valorant PC requirements
Thanks to Riot’s low-spec PC requirements, Valorant should run relatively smoothly even on very old PCs and laptops. Indeed, according to Riot’s own Valorant PC requirements page, their minimum spec (which mostly consists of laptop components) is designed to deliver a steady 30fps frame rate, while the recommended spec should get you a smooth 60fps. Their ‘high-end’ spec, meanwhile, is designed for hitting 144fps frame rates, and when you only need a GTX 1050 Ti to get that kind of frame rate, anyone with a fairly recent graphics card should have no trouble at all getting Valorant to run on their PC. Admittedly, Riot don’t specify which resolution these frame rates are targeting, but having tested the game myself, I’m almost certain they’re aimed at 1920x1080 displays rather than anything lower, such as 1280x720. Indeed, my 6GB Asus GeForce GTX 1060 OC 9Gbps edition GPU was consistently hitting over 200fps at 1920x1080 on max settings, and around 180fps at 2560x1440. As a result, most people should still be able to play at 1080p even if they’re using an old laptop.
Valorant PC graphics settings
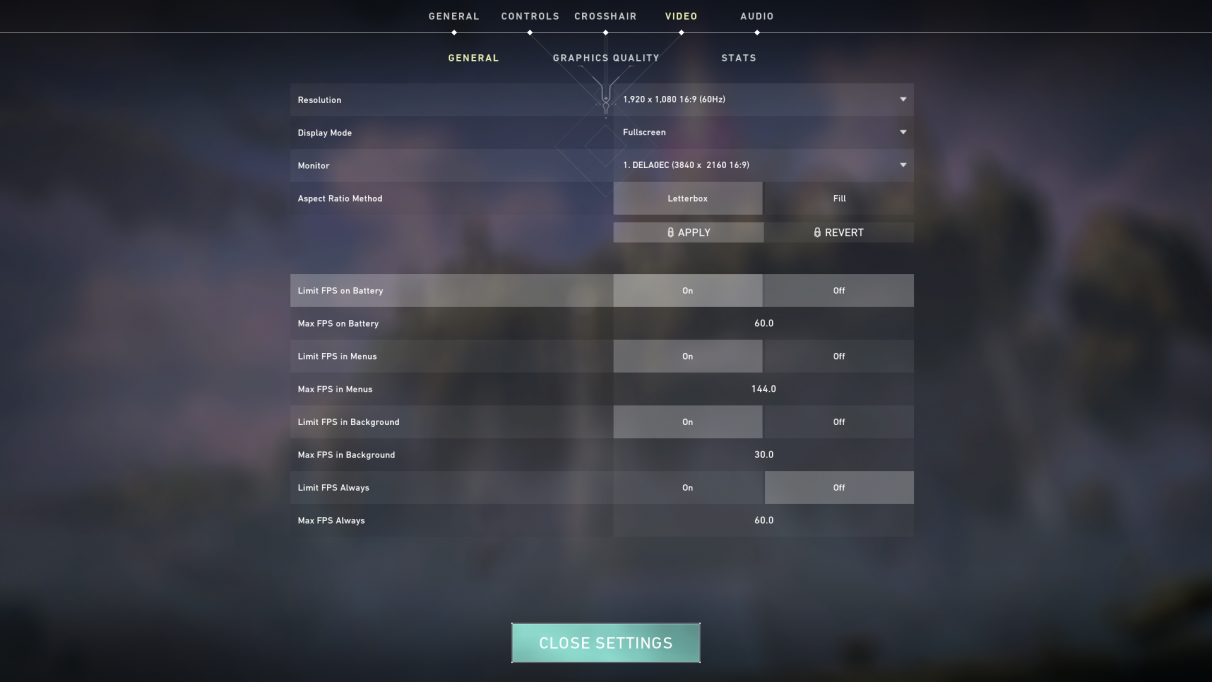
If you need to adjust Valorant’s graphics settings, you’ll find them in the main settings menu under the Video tab. Just click the menu button in the top left corner of the home screen, select Settings, then Video and you’ll be presented with Valorant’s general graphics settings. Here, you can change your resolution and take advantage of some of its specific laptop gaming settings, such as limiting your frame rate when you’re playing on battery.
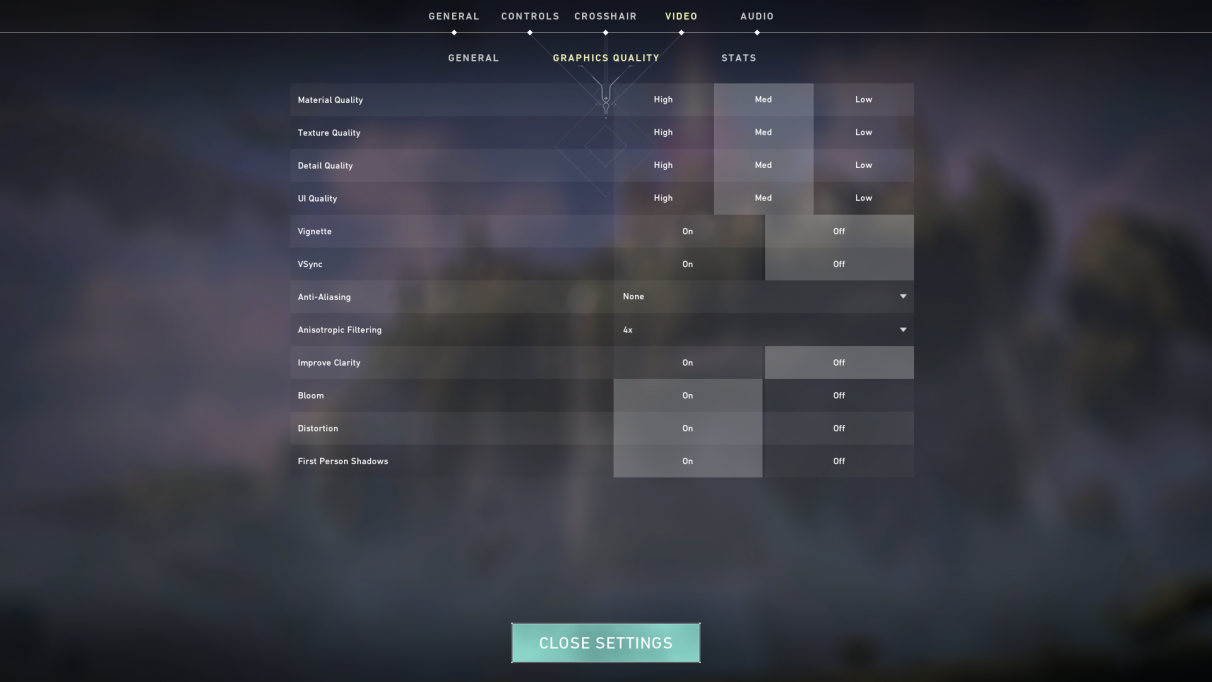
However, the main quality settings are over in the Graphics Quality tab. Unusually, Valorant doesn’t let you cycle through its three default quality settings of Low, Medium and High at the moment, and instead lets you choose whatever settings you want. The good news is that there aren’t reams and reams of the things to choose from, which helps to keep things nice and simple when it comes to finding the best settings for Valorant.
To help you get an idea of what the game looks like on Low, Medium and High, I’ve included some pictures of the game’s training ground below (click to enlarge). Low has all the settings down on their weakest setting, High has them all set to Max, and for Medium I switched off all the On / Off options and used the middle MSAAx2 Anti-aliasing and 4x Anisotropic Filtering settings to create the best possible middle ground. As you can see, Low gives you quite blocky shapes on the surrounding trees and vegetation, and other environmental details such as door panels and building brickwork are almost non-existent. The Medium settings I’ve used bring a bit more life back to the game, adding in proper leaves to the trees and hedges, and you can pick out more detail on the surrounding buildings from afar. High, meanwhile, improves the game’s lighting, adds flowers to the patches of grass and generally packs out the scene a bit more with additional details and objects, such as extra vines and more floating debris above you.
How to get the best settings in Valorant
So, this is what we’re aiming for here: settings where we can hit the best frame rates without compromising too much on graphical fidelity. Since the GTX 1060 is more than capable of playing Valorant at high frame rates on PC, I decided that the best way to test the game was to swap it for the weakest graphics card I had to hand - my trusty AMD Radeon R9 270. With just 2GB of VRAM to its name, this graphics card from 2013 regularly struggles with today’s top games, as we’ve seen time and time again in my performance tests for games like The Division 2 and Assassin’s Creed Odyssey. With Valorant, however, it proved an able companion. Paired with my usual Intel Core i5-8600K CPU and 16GB of RAM, I saw an average frame rate of at least 90fps on max settings at 1920x1080 (if not closer to 120fps most of the time), and at least 70fps on max settings at 2560x1440. That’s pretty good, but there’s room for improvement, so I’m going to see exactly what it takes to push this card up to 144fps in order to meet Riot’s ‘high-end PC requirements’ spec, and which settings you can knock down to help you achieve that.
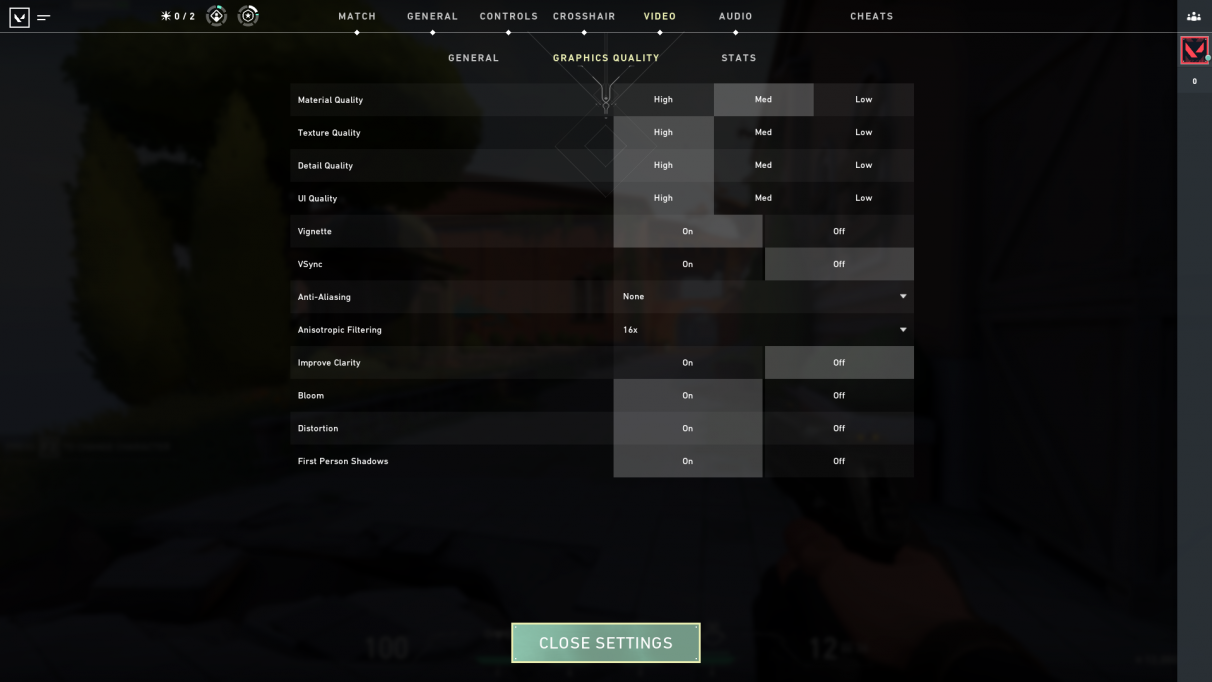
Turn off Anti-Aliasing - this is the biggest single performance boost you can give your ailing graphics card, as switching from its top MSAAx4 setting to Off saw my frame rate rise from a maximum of 120fps at 1080p right up to around 180fps. Some edges will look a little jagged as a result, but given the game’s cartoonish art style, it’s not likely to be something you’ll notice when you’re playing a match. Turn off Improve Clarity - if you simply can’t stand jagged edges, then this is another easy way to give your PC a boost in the frame rate department which doesn’t have a big impact on the game’s overall visuals. With the setting switched on, I saw frame rates between 90-120fps in a typical match, but switching it off saw my frame rate rise to around 110-140fps. Turn down Material Quality - a slightly smaller boost than the two options outlined above, but I found that toning Material Quality down to Medium boosted my minimum frame rate by another 10fps or so, while switching it to Low gave me another 10fps on top of that, turning lows of 90fps into 100fps or 110fps. This affects the level of detail in the surrounding buildings, so some surfaces might look a bit flat as a result, but as you can see from the pictures below, it’s nowhere near as drastic as my original Medium or Low snapshots above.
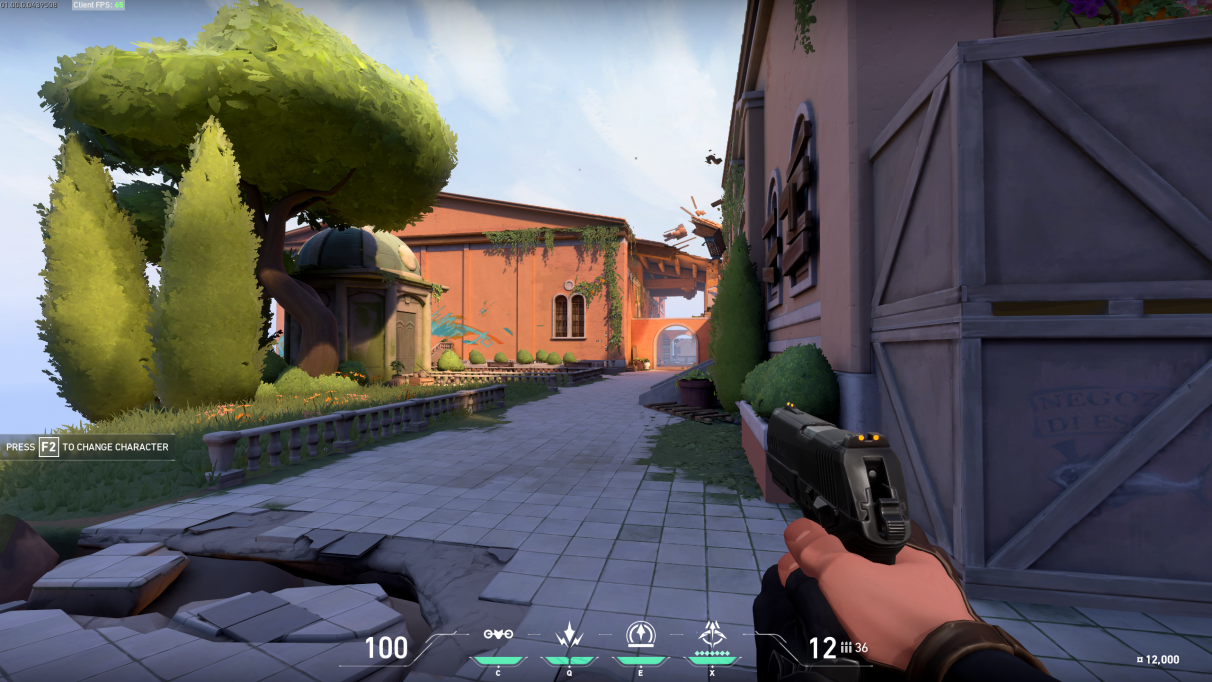
Combine all of those together and you should see a significant boost to your PC’s frame rate. With my R9 270, for example, I saw a minimum frame rate of around 180fps when I put all of the tips outlined above into effect at 1920x1080, with highs of around 240fps. Bumping up the resolution to 2560x1440 was pretty transformative as well, turning speeds of 60-80fps on max settings into 140-180fps, which is pretty impressive for such an old graphics card. To apply these settings yourself, just have a look at the Graphics Quality screenshot above, as that’s what it should look like with the above settings tips in place. Moreover, to see what that all that means in-game, here’s what it looks like in practice compared to the game’s max settings. I think you’ll probably agree that both look pretty similar: So those are our top tips for improving your game’s performance and boosting your frame rate in Valorant. If you have any tips of your own, be sure to share them in the comments below - and while you’re here, why not check out our guides team’s extensive Valorant guides to help you get on the winning team every time.
